REBIRTH STUDIO

Located south of Lisbon, the studio was built in 2018
The room was treated to record, mix & master at the highest professional standard.
It has some of the best studio gear and instruments available. An investment worth over 50.000€
This is where I make my music - and it can also be where your next song is born!
After 12 years of living in London I decided it was time to return to my home country and realize one of my dreams: to have my very own professional music studio.
I had the means and the ideal place for it.
After a “professional” studio builder left me hanging dry, I decided I would make the acoustic treatment myself. I love working with my hands and building things, so I new I’d have fun even if it was going to be a challenge.
Armed with pencil, paper, and the Google search engine, I took a deep dive into the world of acoustics.
Once I understood the principles behind it, I drew the plans for all the panels that were going to be installed in the walls and ceiling of the studio.
I didn’t do it the easy way (definitely not the cheap way either….)
Building the Studio…

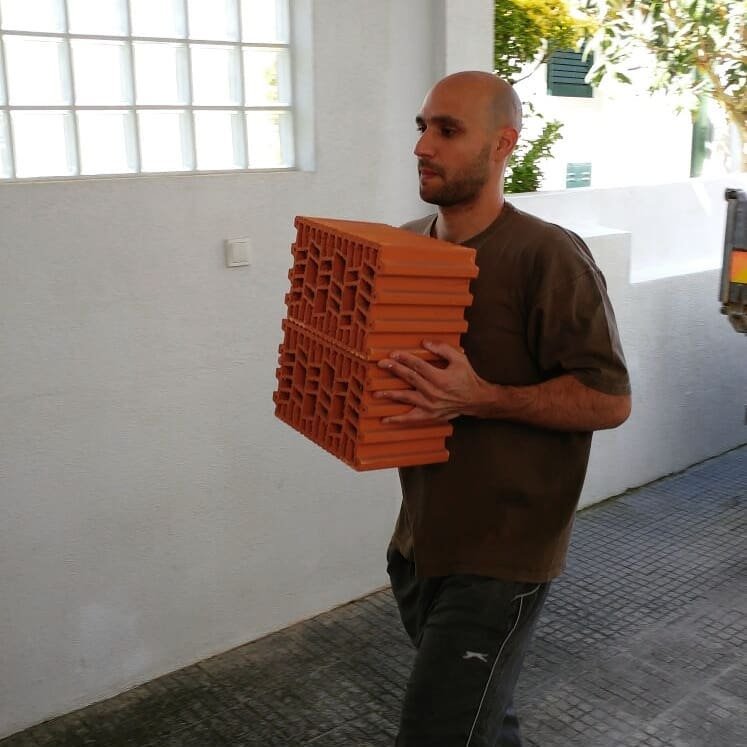
Wide bricks with acoustic isolation properties

Rude boy shovelin'?

Mr. Alberto, Master Mason, laying the bricks
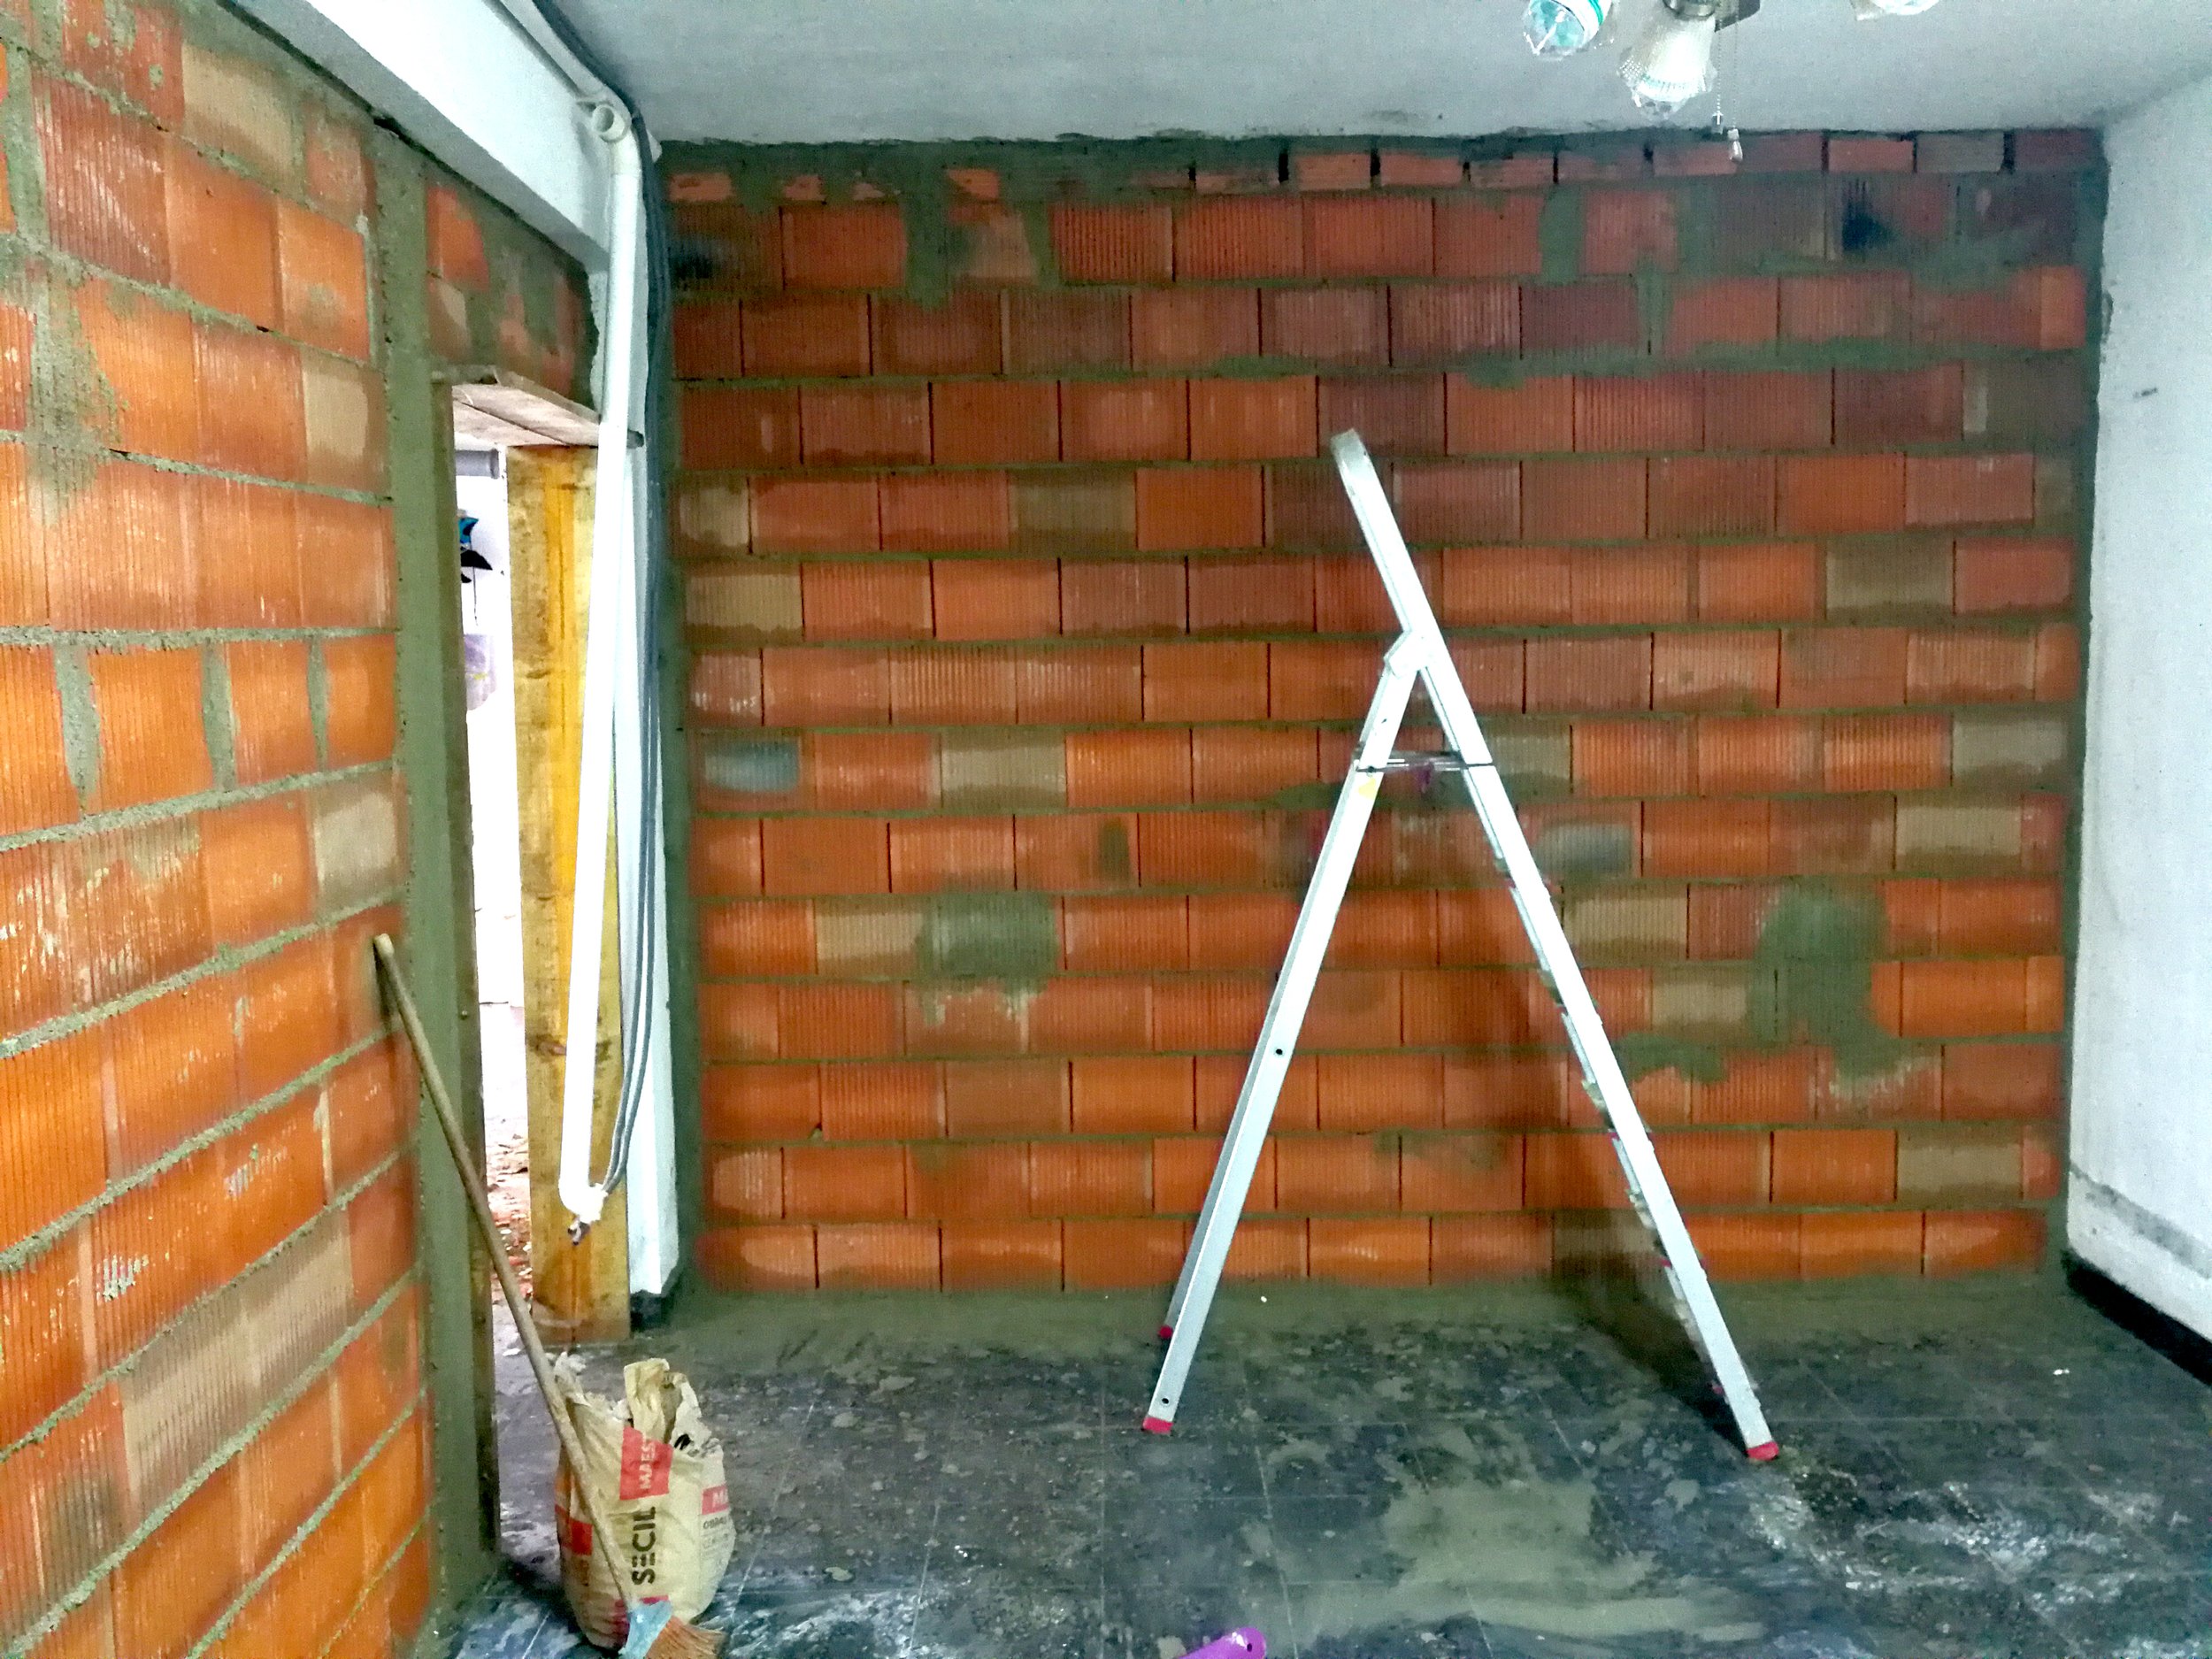
Inside the studio, walls built

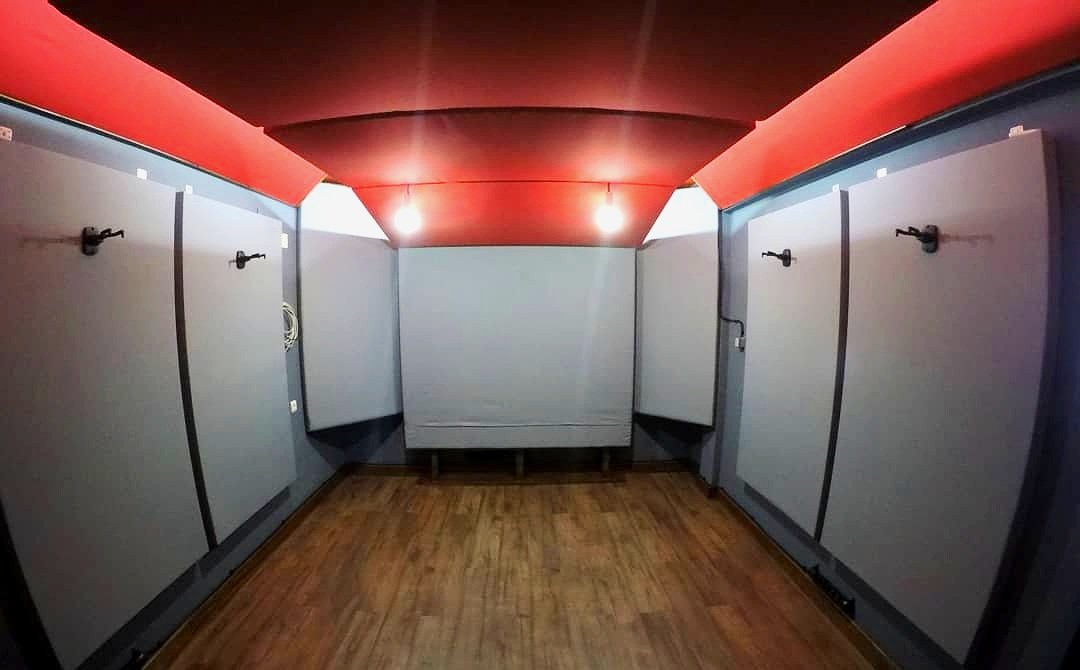
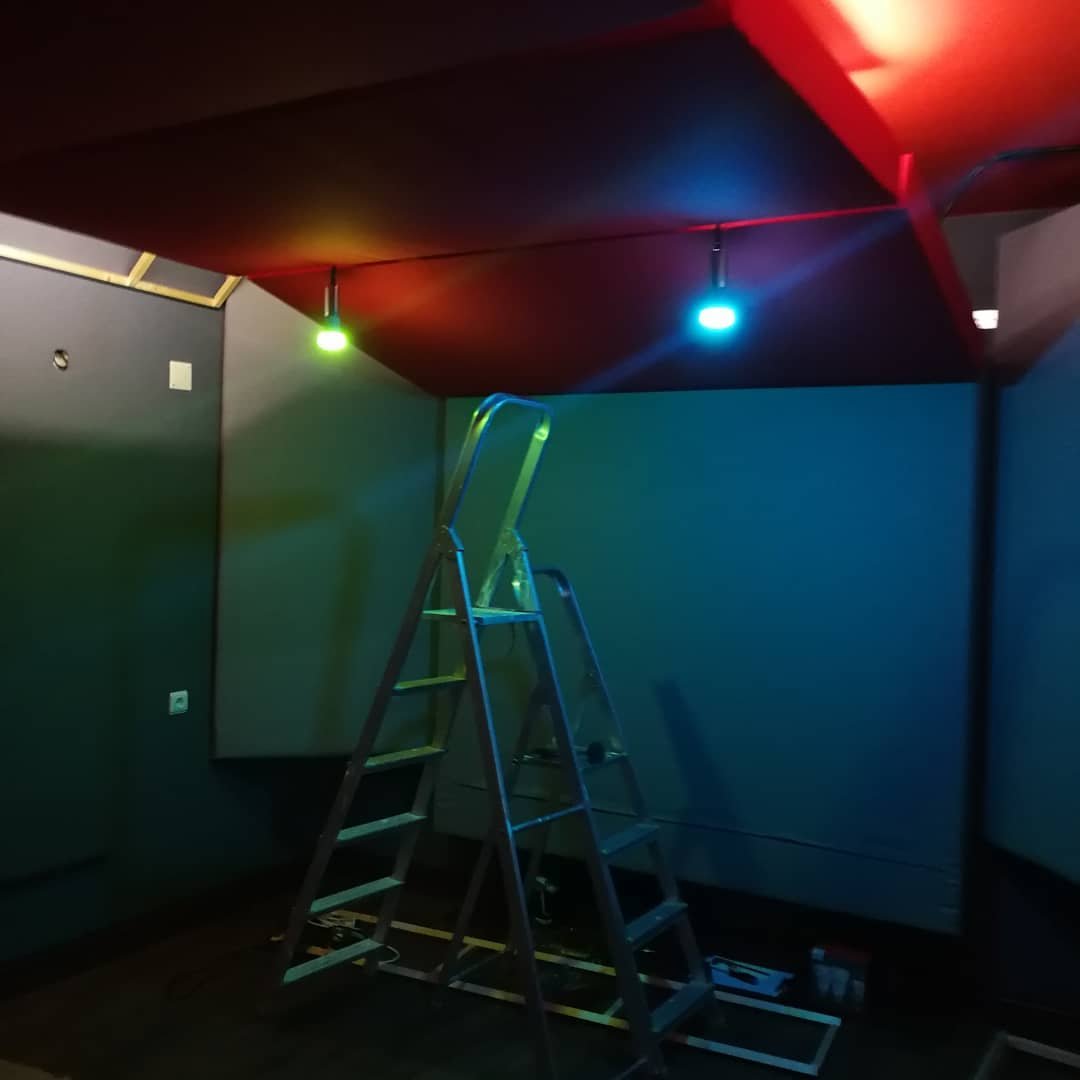
Paint job

Studio entrance, outside view
The “panels” I’ve built are not the average panel you find in studios and in all DIY YouTube videos…
These “panels” are Helmholtz Resonators.
What are these? you ask…
To answer that, I’ll need to explain a little bit of studio acoustics.
First of all you must understand the difference between Room Isolation and Acoustic Treatment.
Room isolation refers to the use of materials and building techniques to stop the sound from being transferred from one room to another. In other words, room isolation is making sure the sound in the studio does not go to your neighbour’s house - and the noise from your neighbour does not come into your studio.
There are only 2 ways to isolate a room:
1 - Mass. Having thick walls, made of dense materials such as bricks and cement. This means the mass will absorb most of the sonic energy.
2 - Air gap. This is the most common technique, through the use of wooden studs and rock-wool. This air gap is achieved by building 2 walls, and in between you find the “air gap”. This is effective because sound requires a medium to travel, and when you create an “air gap” you reduce the sonic energy (because the air is of a low density, thus less able to transmit sound).
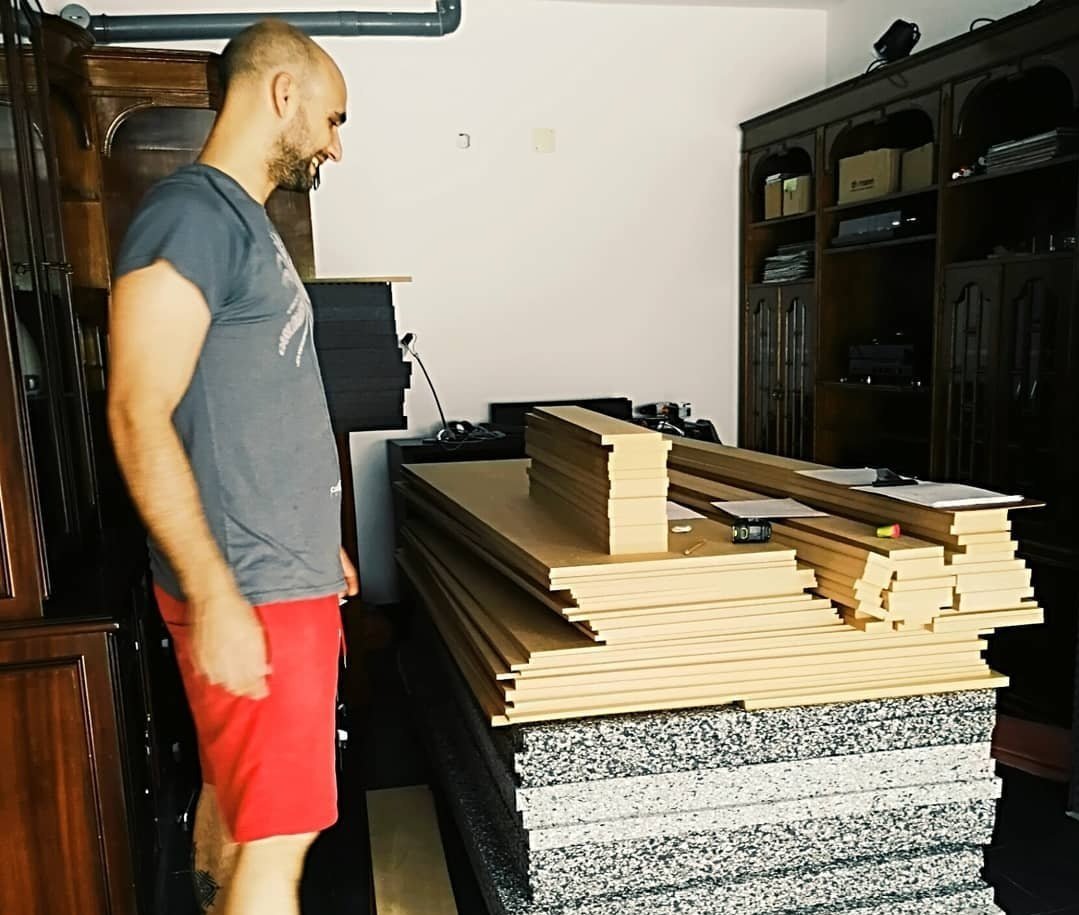
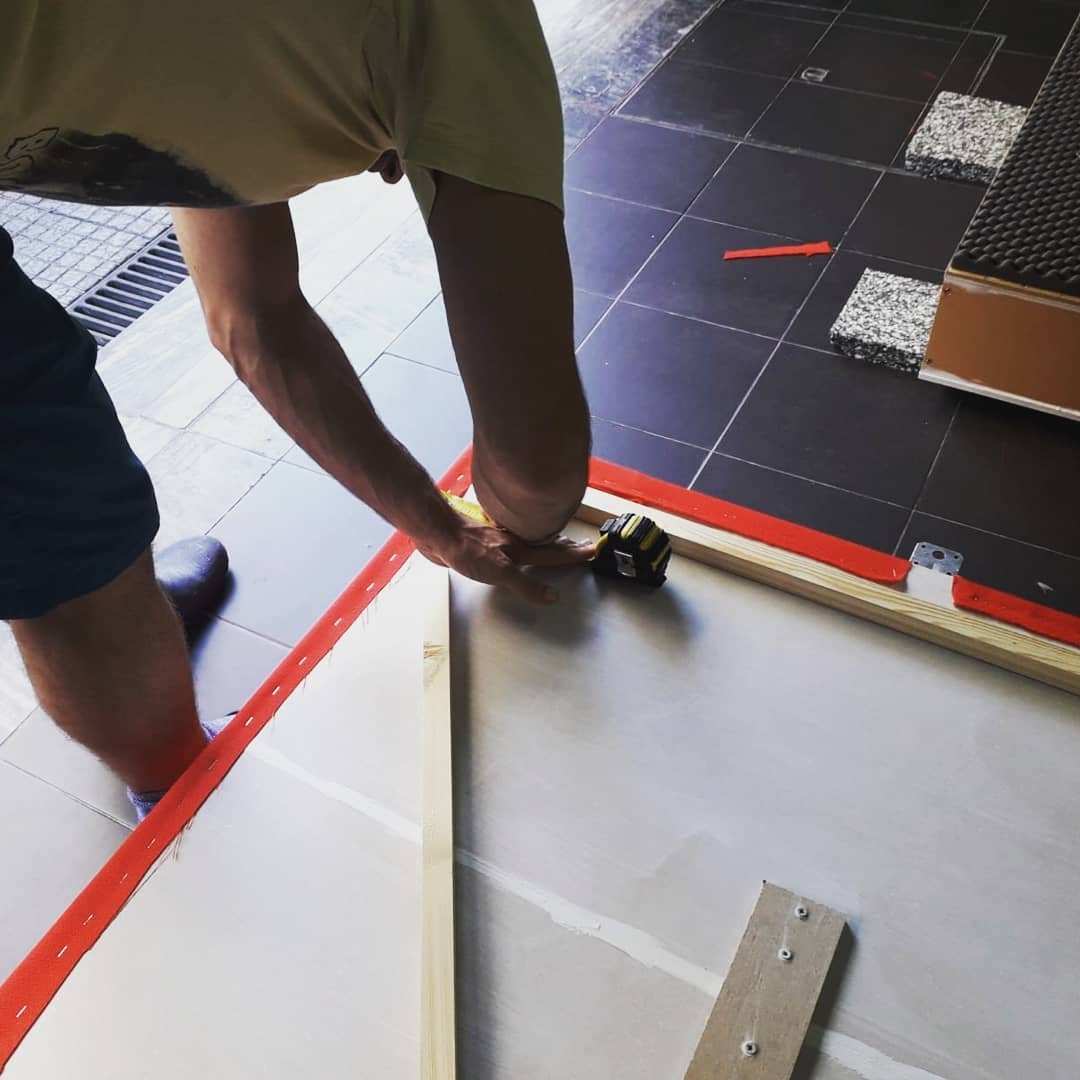
Material for building Helmholtz Resonators, cut to specified size
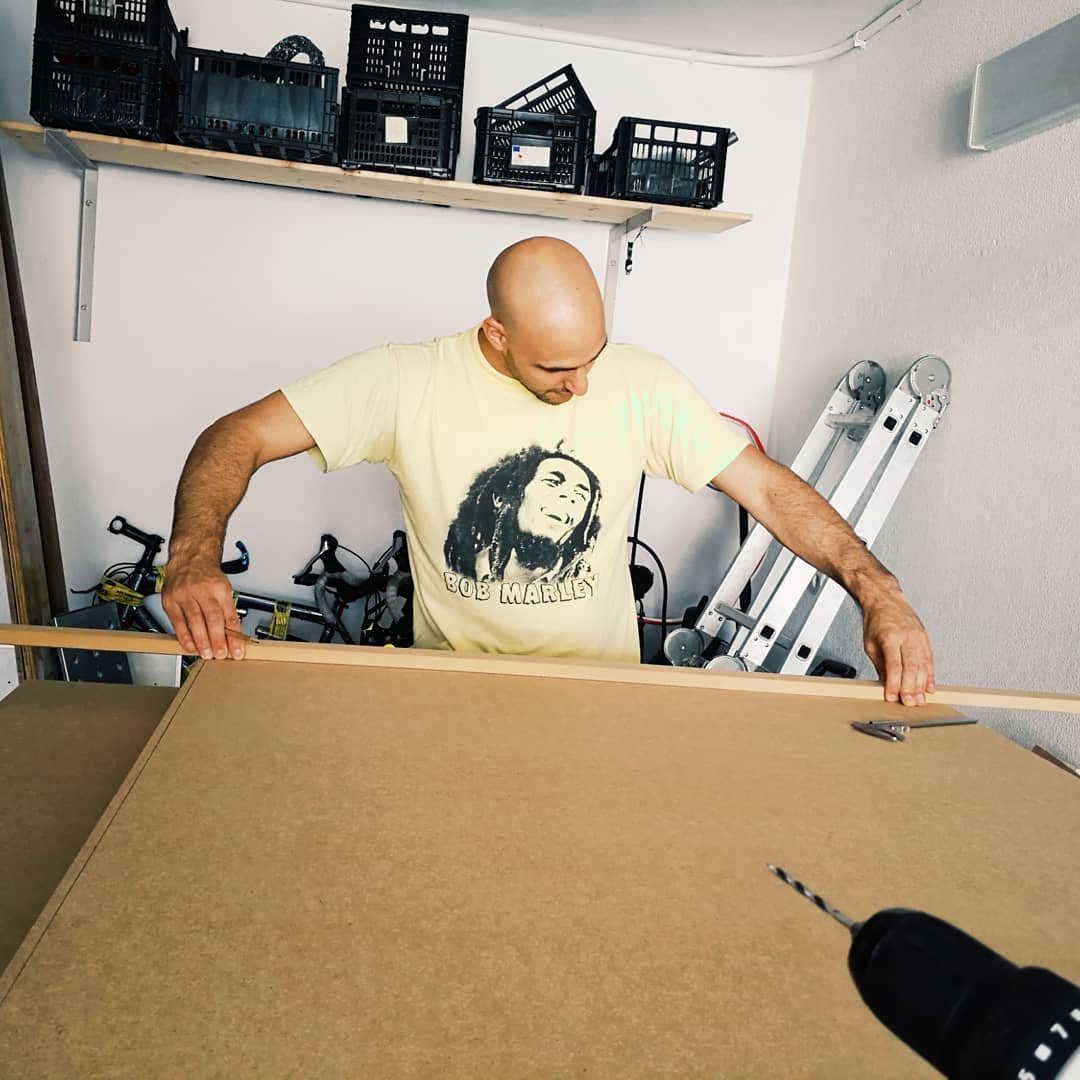
building...

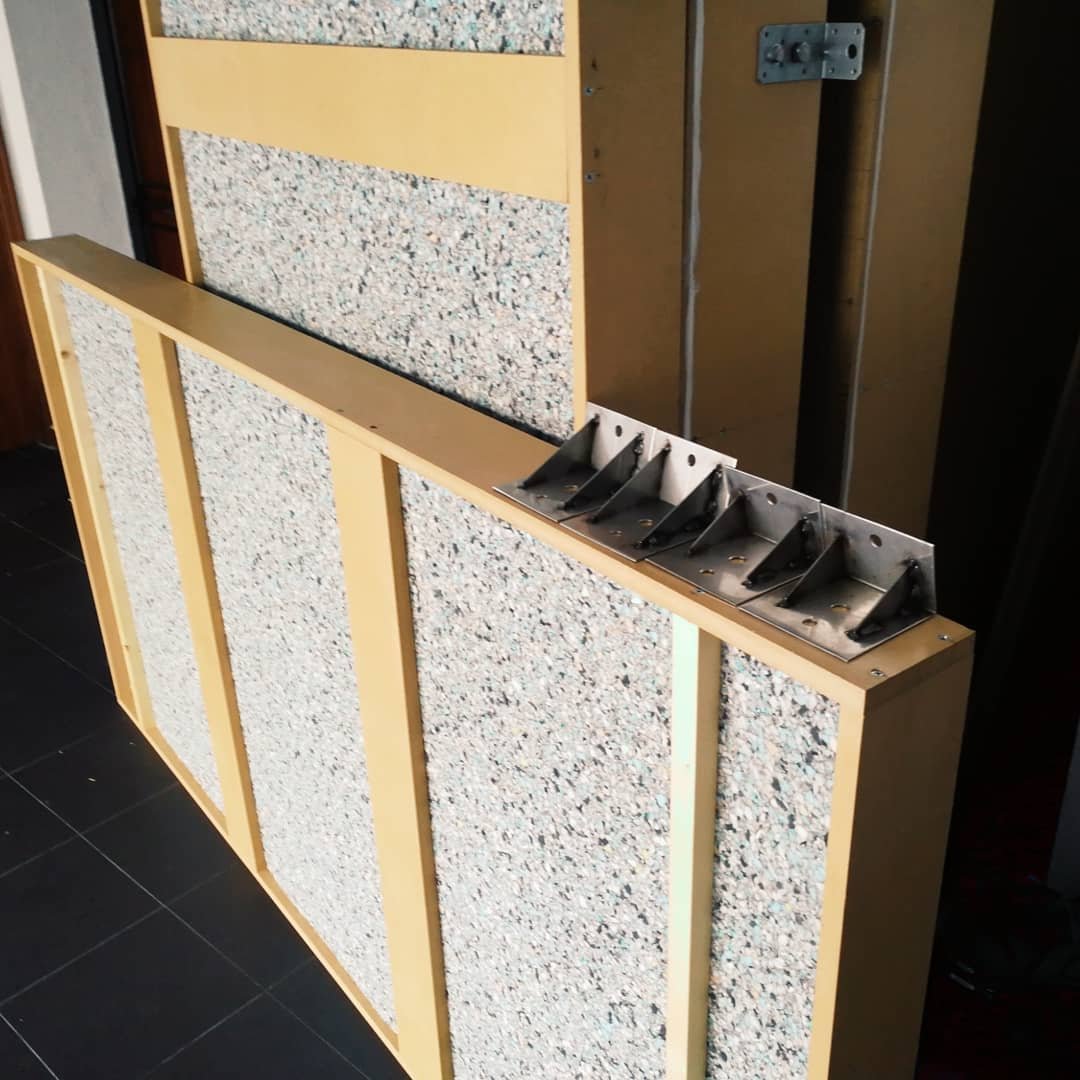
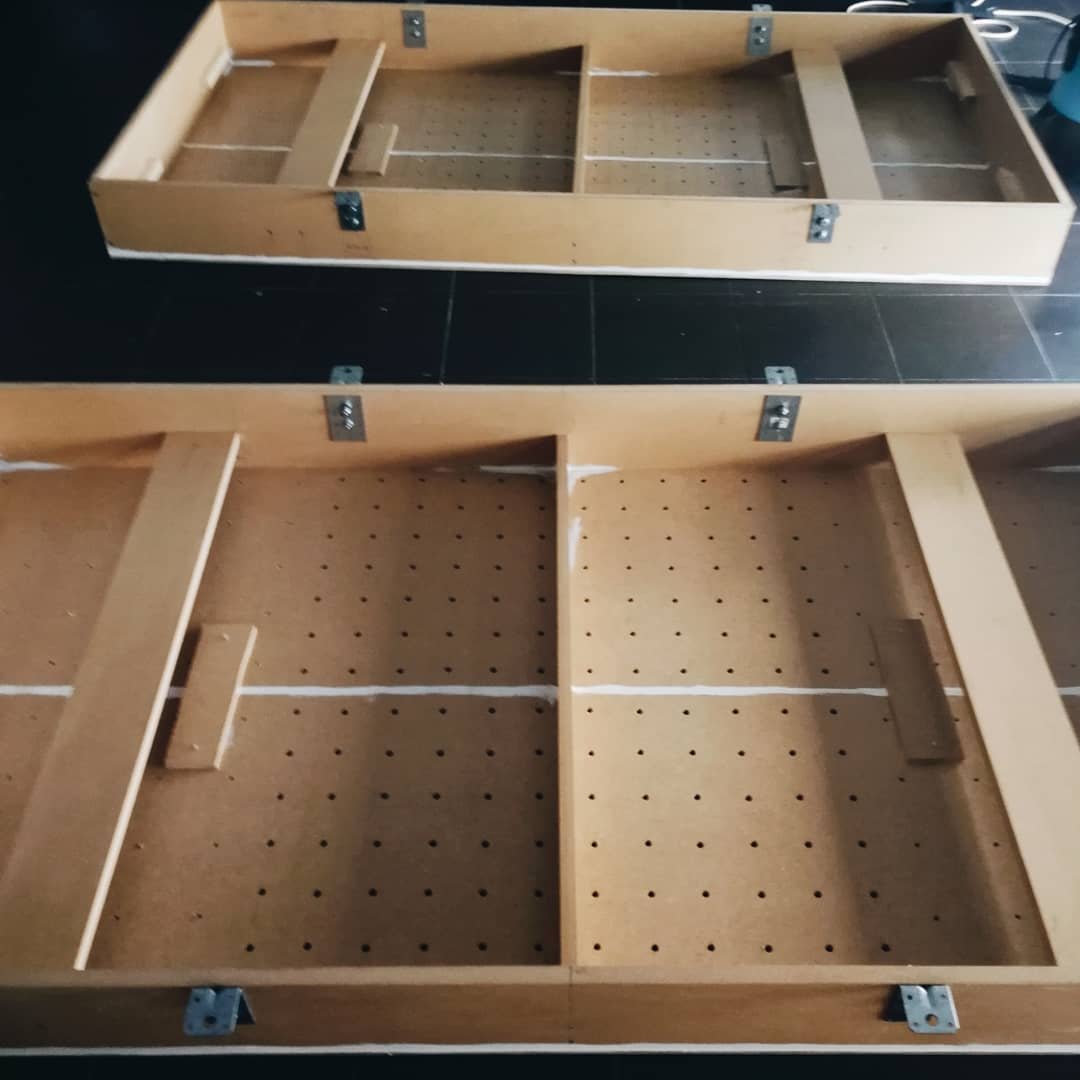
Large front wall resonator, over 100kg heavy when finished
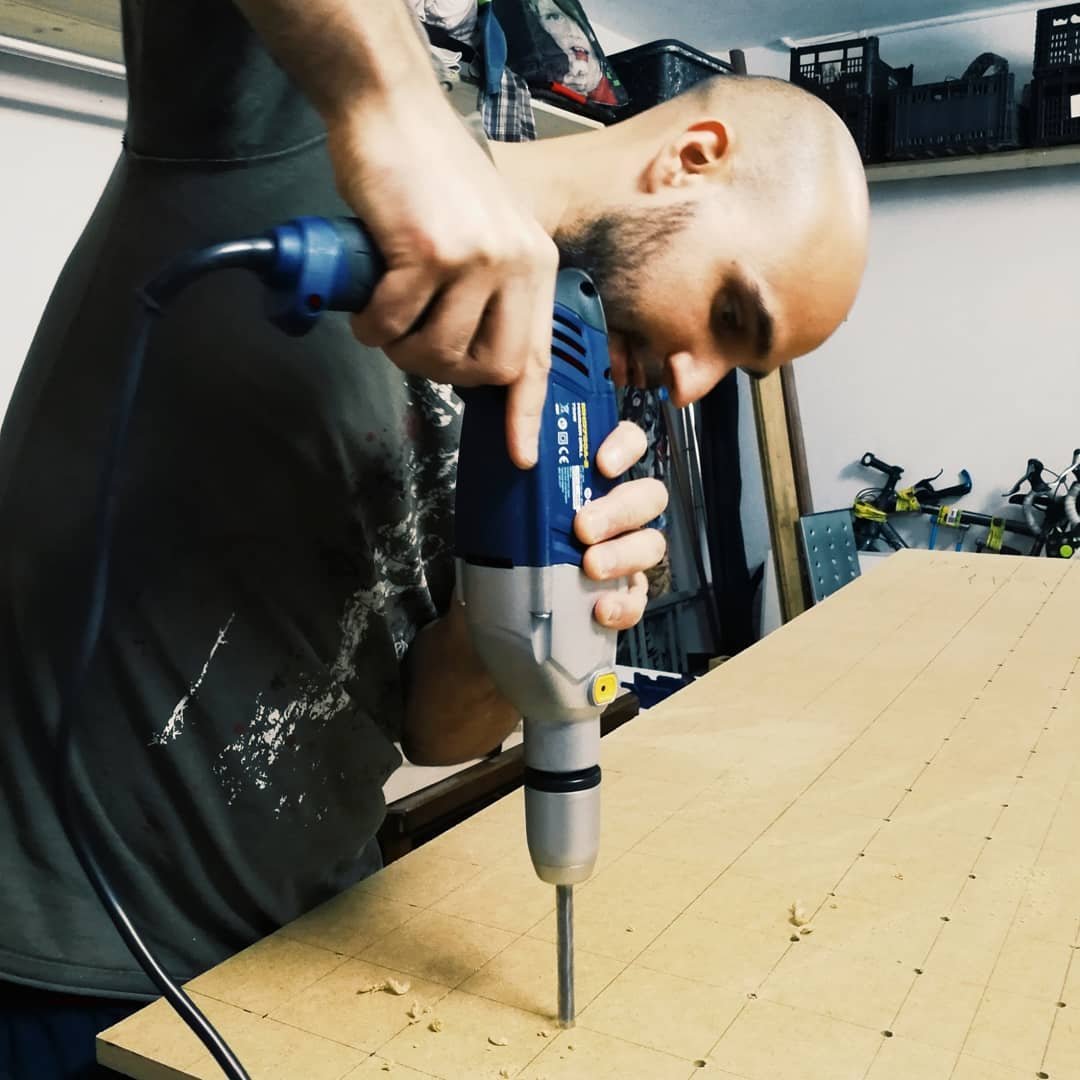
Making holes in the front panel of a resonator
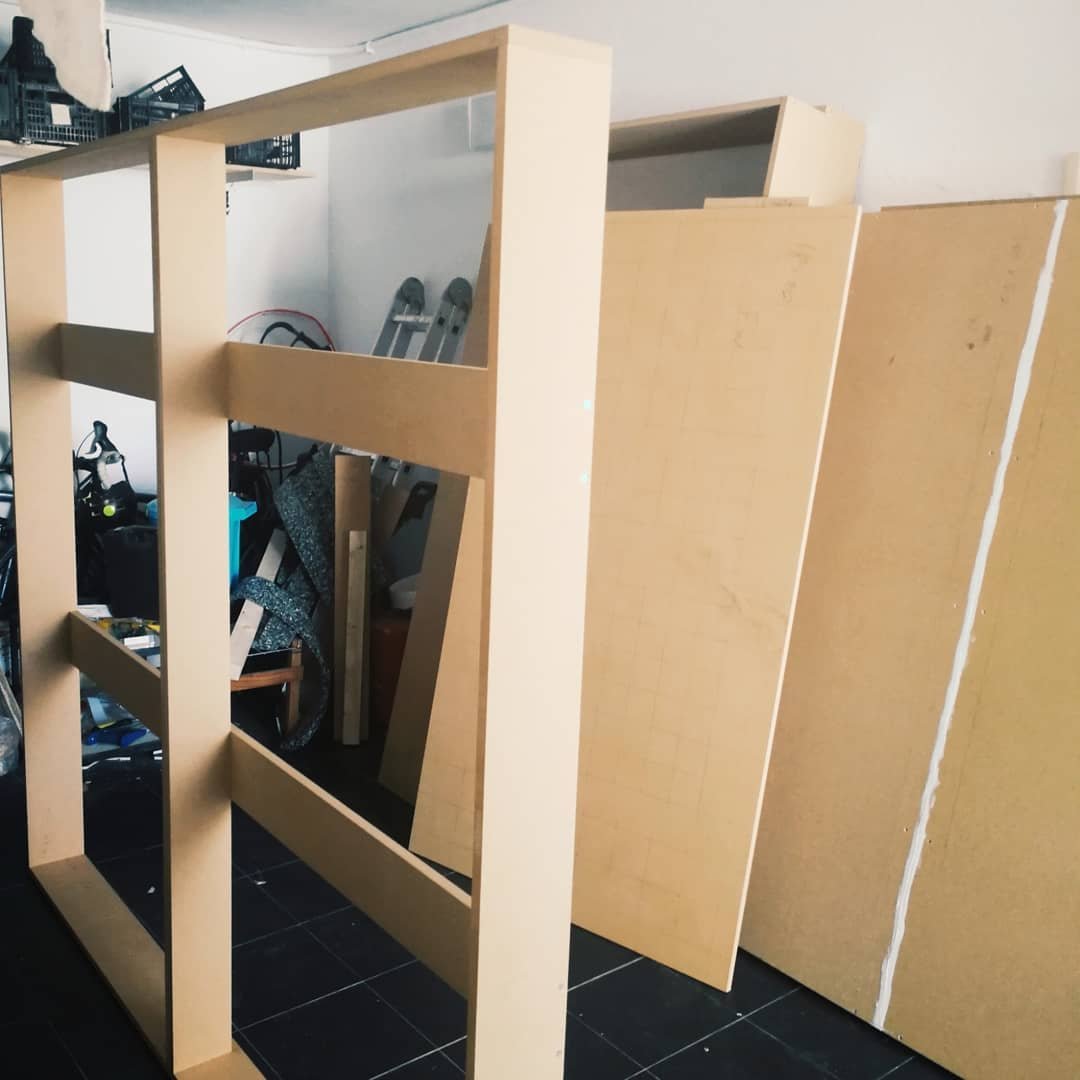
Frame of front wall resonator
Half finished resonators...
Combining these two techniques would give you the best isolation possible: i.e, 2 brick walls with an air gap in between. That being said, I am yet to see pictures of it, because doing it this way would be much more expensive and normally require more space.
So, this is how you isolate a studio.
Then there is the Acoustic Treatment.
The Acoustic Treatment is how you “treat” the sound inside the studio. In other words, it is how the sound will behave inside the studio. If all you have is bare brick or plastered walls, you will have a lot of “reflections” - in layman’s terms, lots of “echo”. You do not want that, not for recording (in almost all cases) and definitely not for mixing and mastering.
To treat the sound inside a room you will need to add something to it to absorb the sonic energy that is bouncing between the walls - and thus reduce the “echo”.
Have you noticed what happens when you add a mattress or a sofa to a room? It will immediately sound different… next time you move house, pay attention to it.
Rooms are boxes, and boxes resonate - that means, they “amplify” the sound that goes into it.
That is why acoustic guitars are, in essence, a box (with a hole). If they weren’t hollow, they would not be as loud. The different sizes and shapes of acoustic guitars will influence how the guitar sounds.
The same applies to a studio/room.

Ceiling resonators, awaiting polyurethane foam and covering fabric

Stapling the fabric on the "bass trap" corner resonator
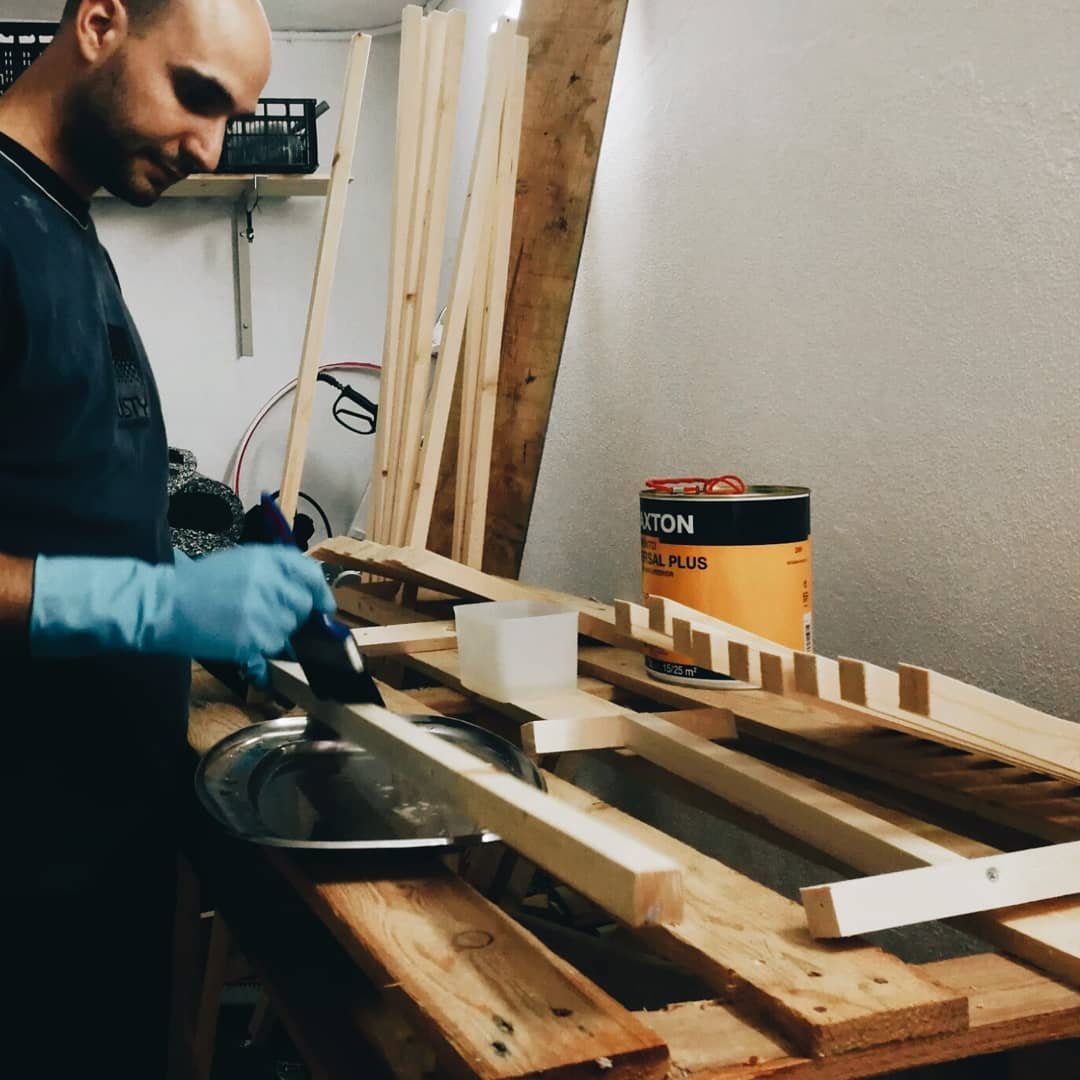
Anti fungal treatment on the wood
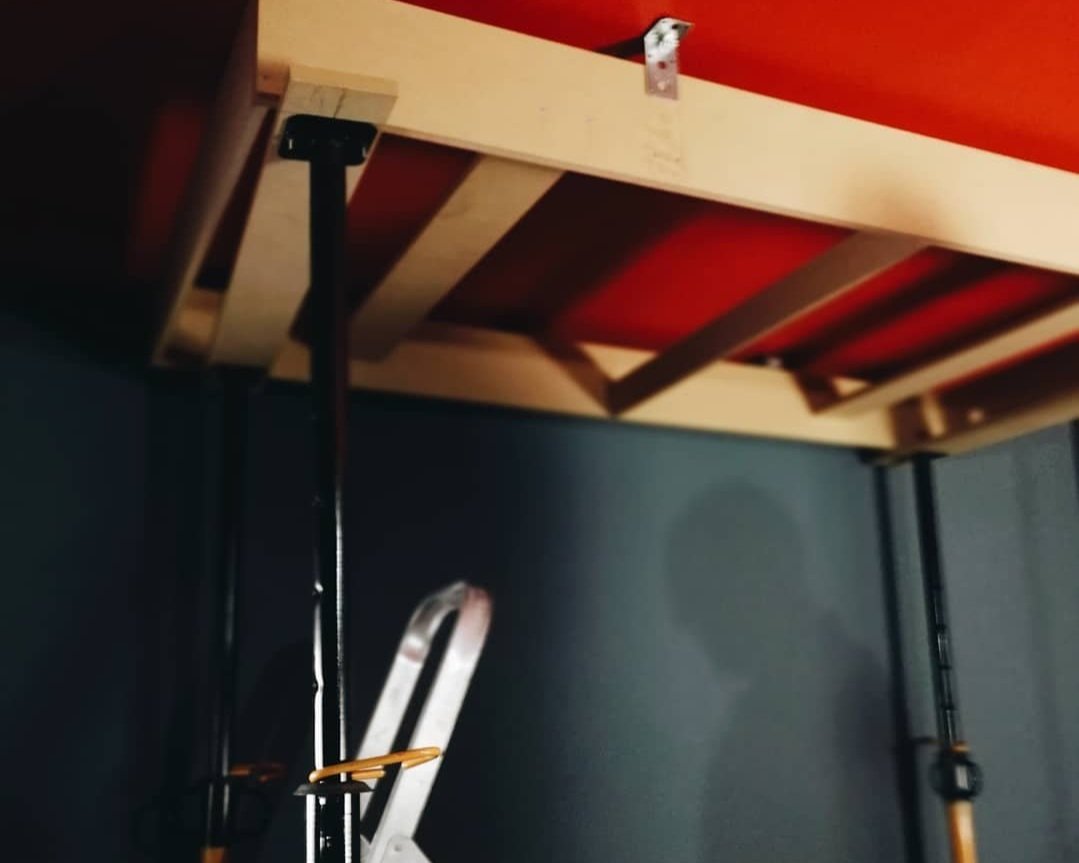
Marking the drill holes on the ceiling
Making the LED light frame on the ceiling resonator
getting there....
Every room will amplify specific frequencies (notes) according to the volume and dimensions of the room (length, width, and height).
Try this: go to a small toilet and start to sing the lowest note you possibly can. Then slowly increase the pitch. You will find that at some point you will hit a specific note which the whole toilet/room will resonate with.
That is the resonant frequency (note) of the toilet.
So, every room/studio has a specific resonant frequency (frequencies). That means certain notes/frequencies will be amplified (sound louder).
You do not want this either! Because when you are mixing or mastering, what you hear is not only what comes out of the studio monitors, it is also the amplification produced by the room.
So, we need to treat those frequencies that the room will amplify.
And that’s how we arrive at the Helmholtz Resonators.
A Helmholtz Resonator is, in essence, a box that is fine-tuned to resonate at a specific frequency.
Because it resonates at a specific frequency, it means it will “absorb” the sonic energy of that specific frequency, thus reducing it. It is like a sonic sponge!

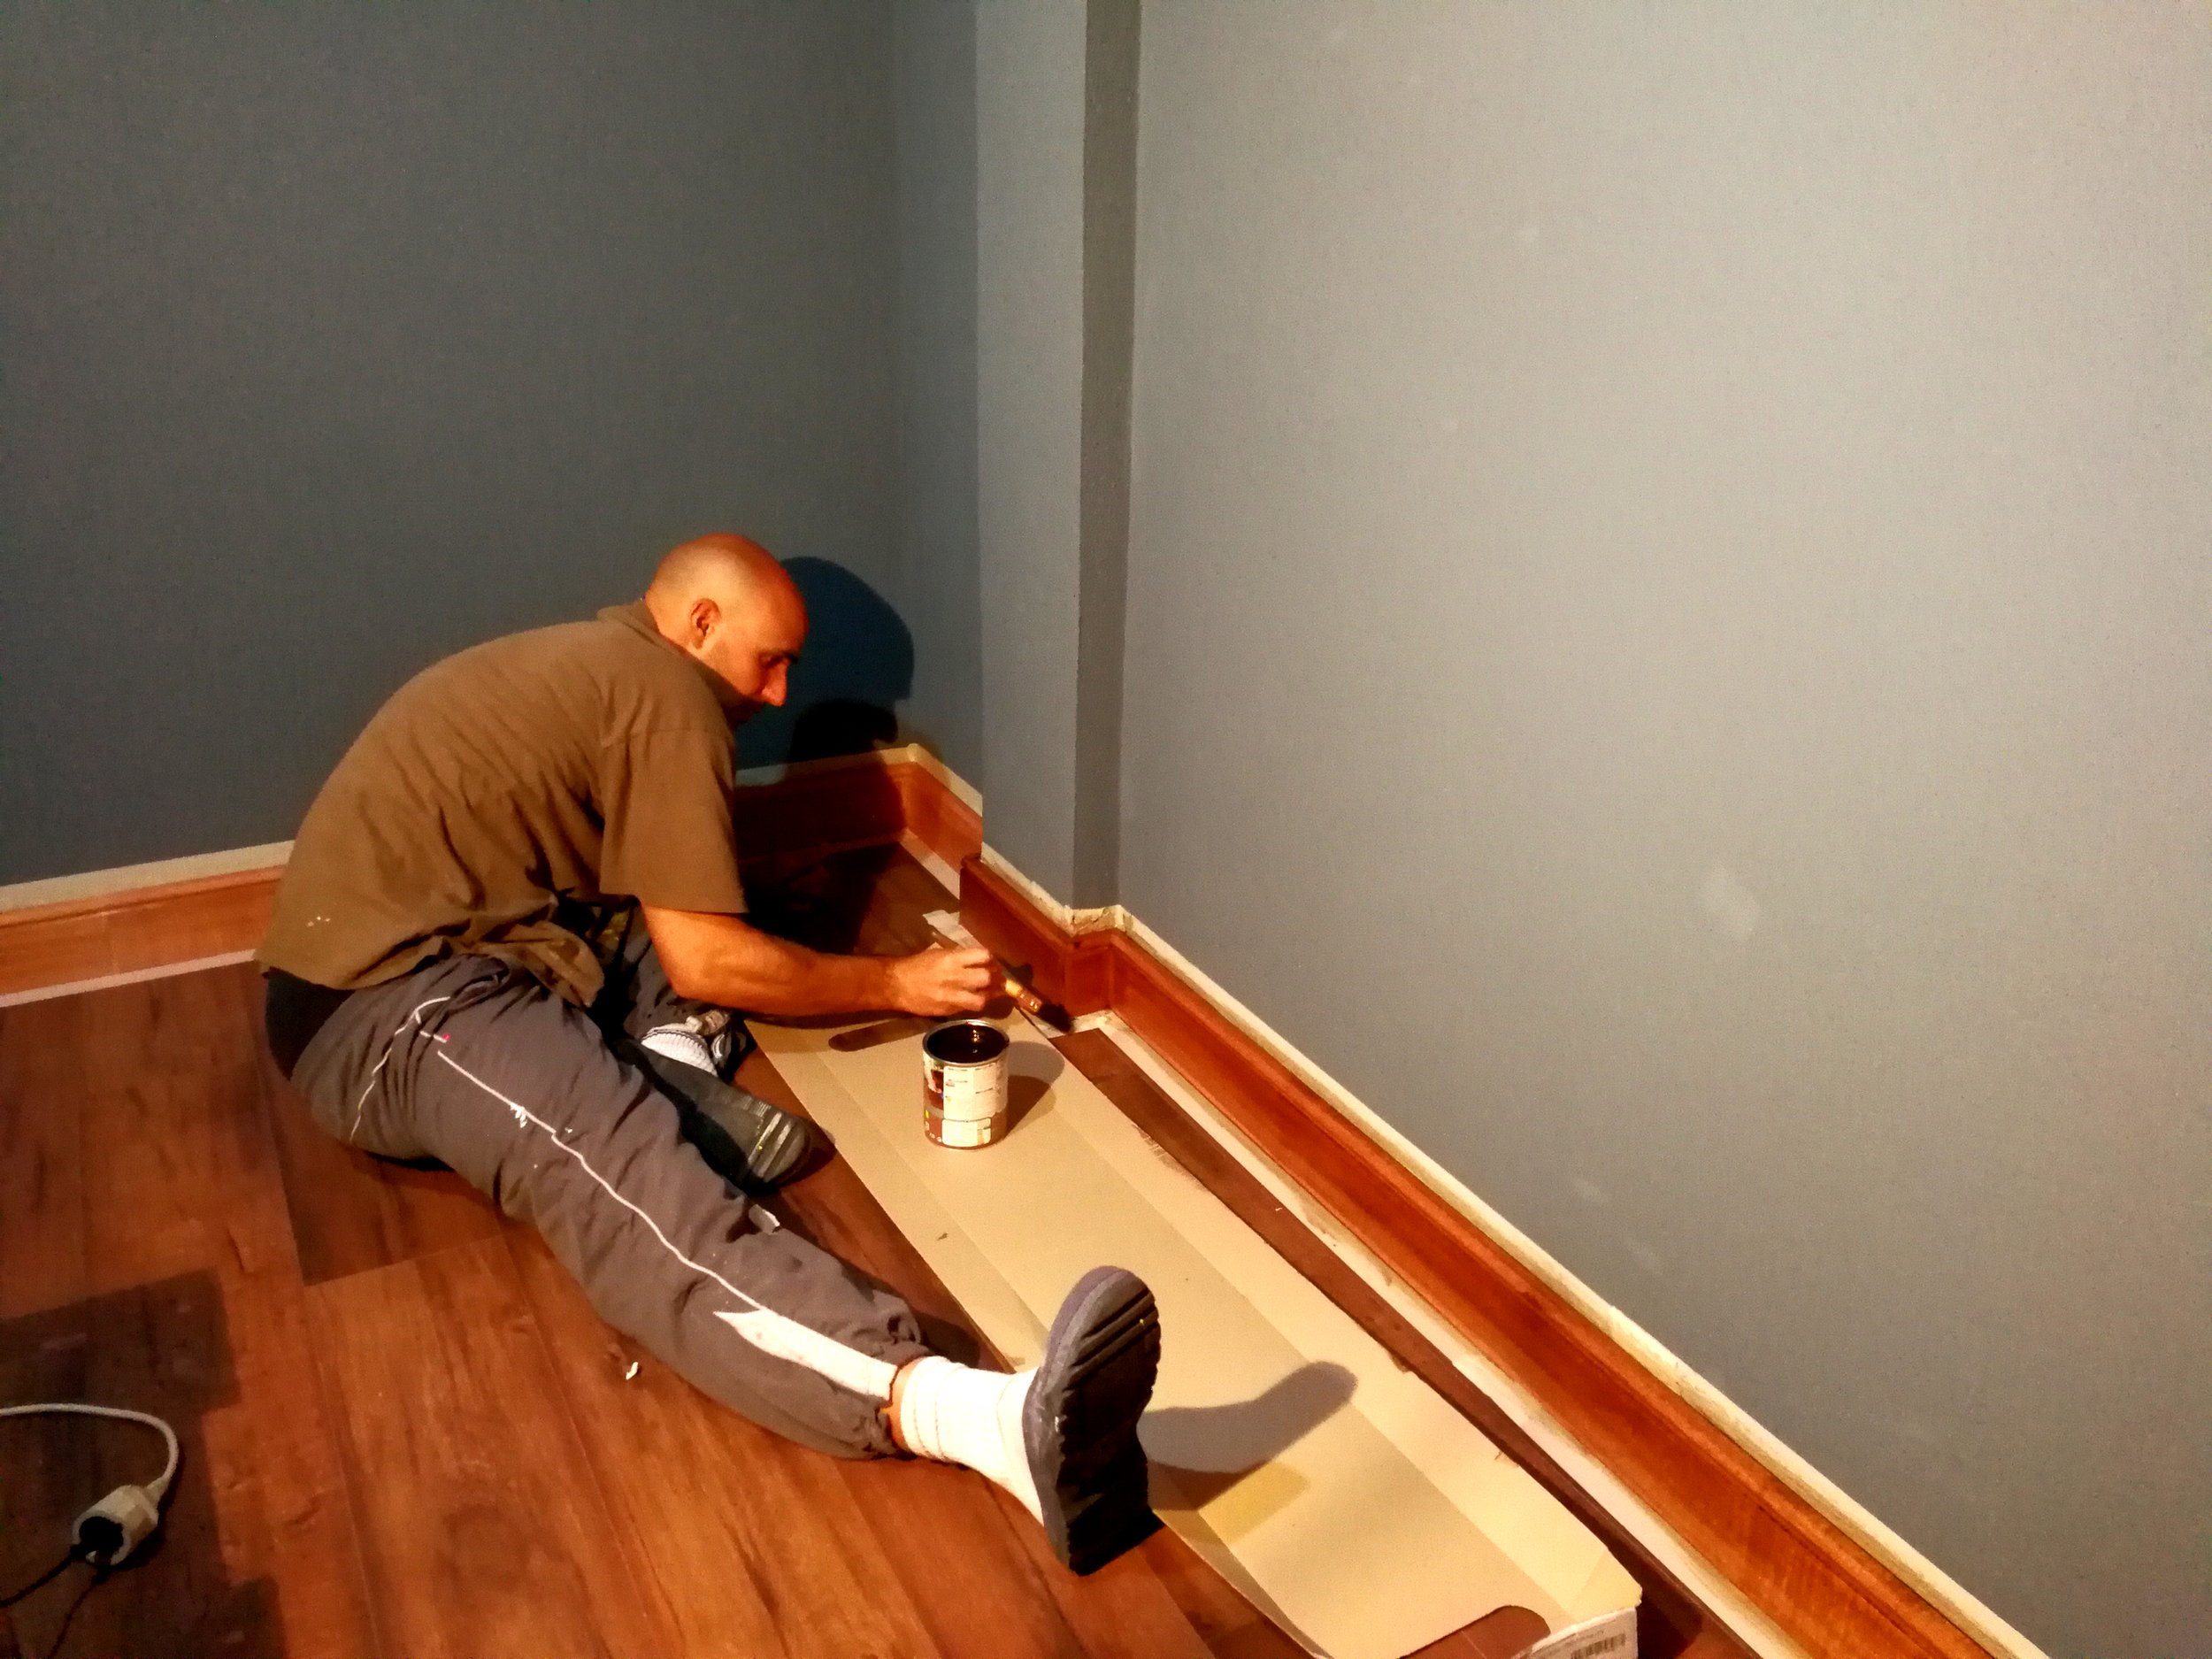
Varnishing the skirting board
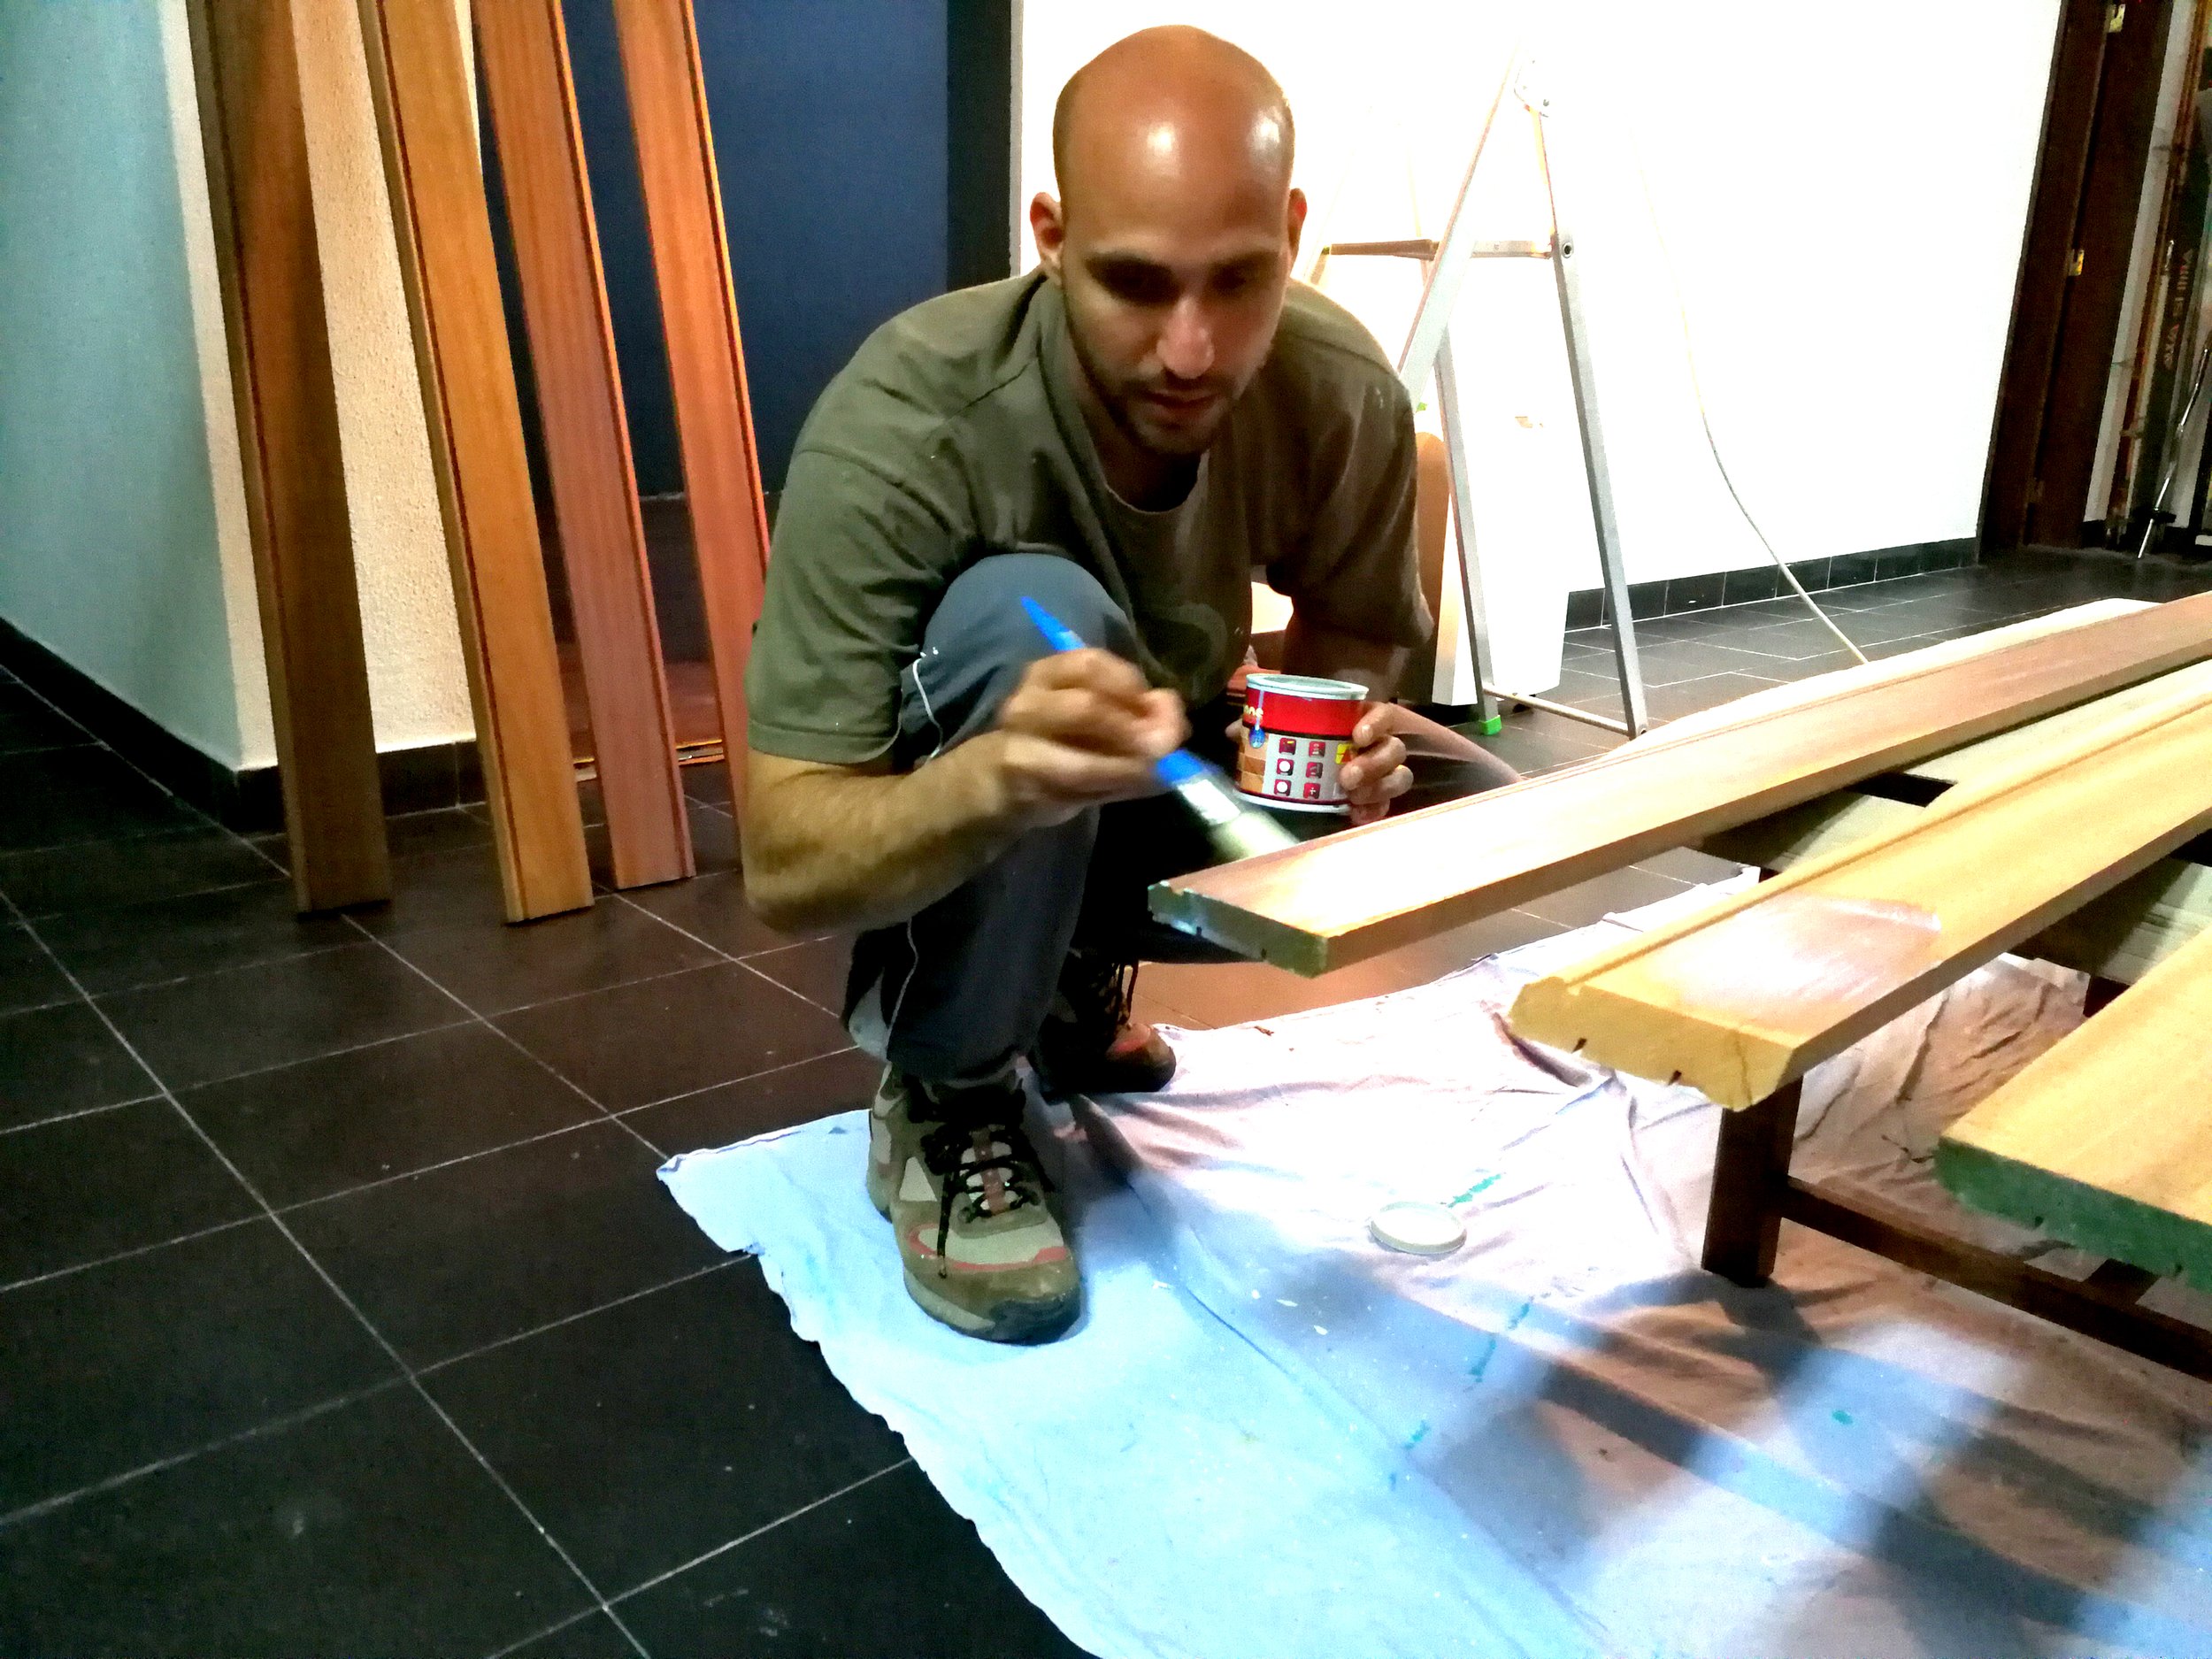
Treatment on mahogany skirting board
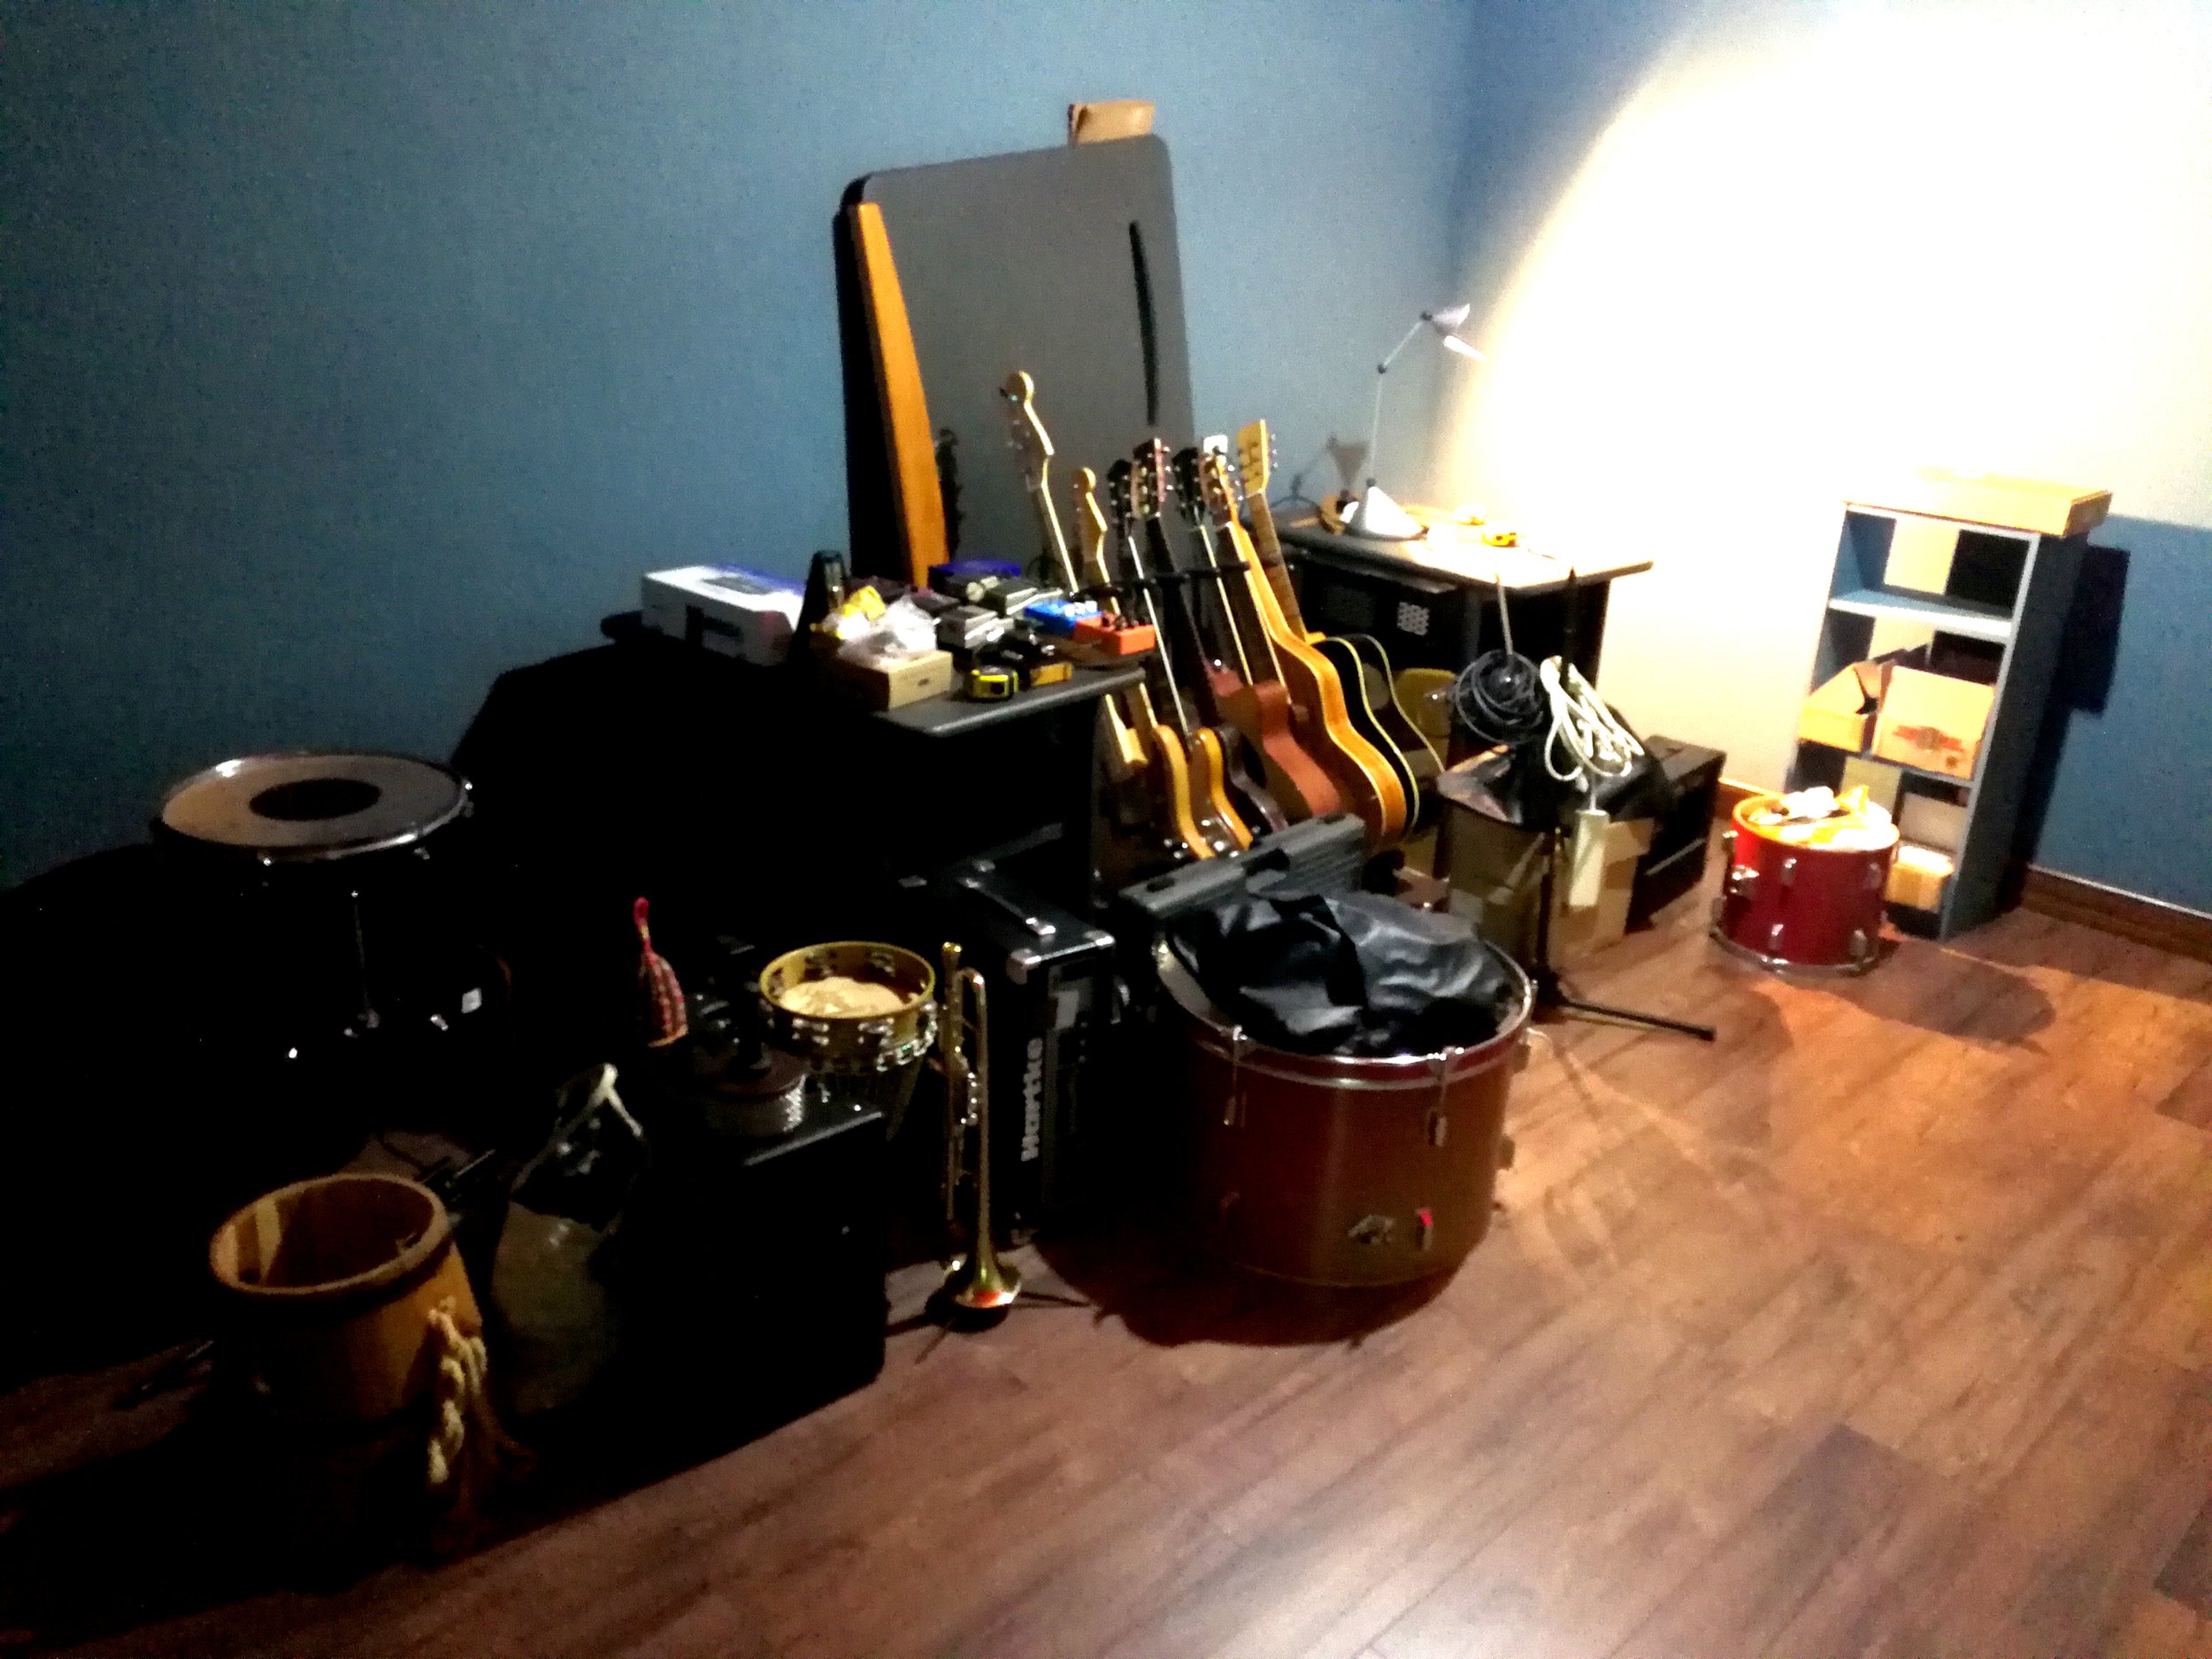
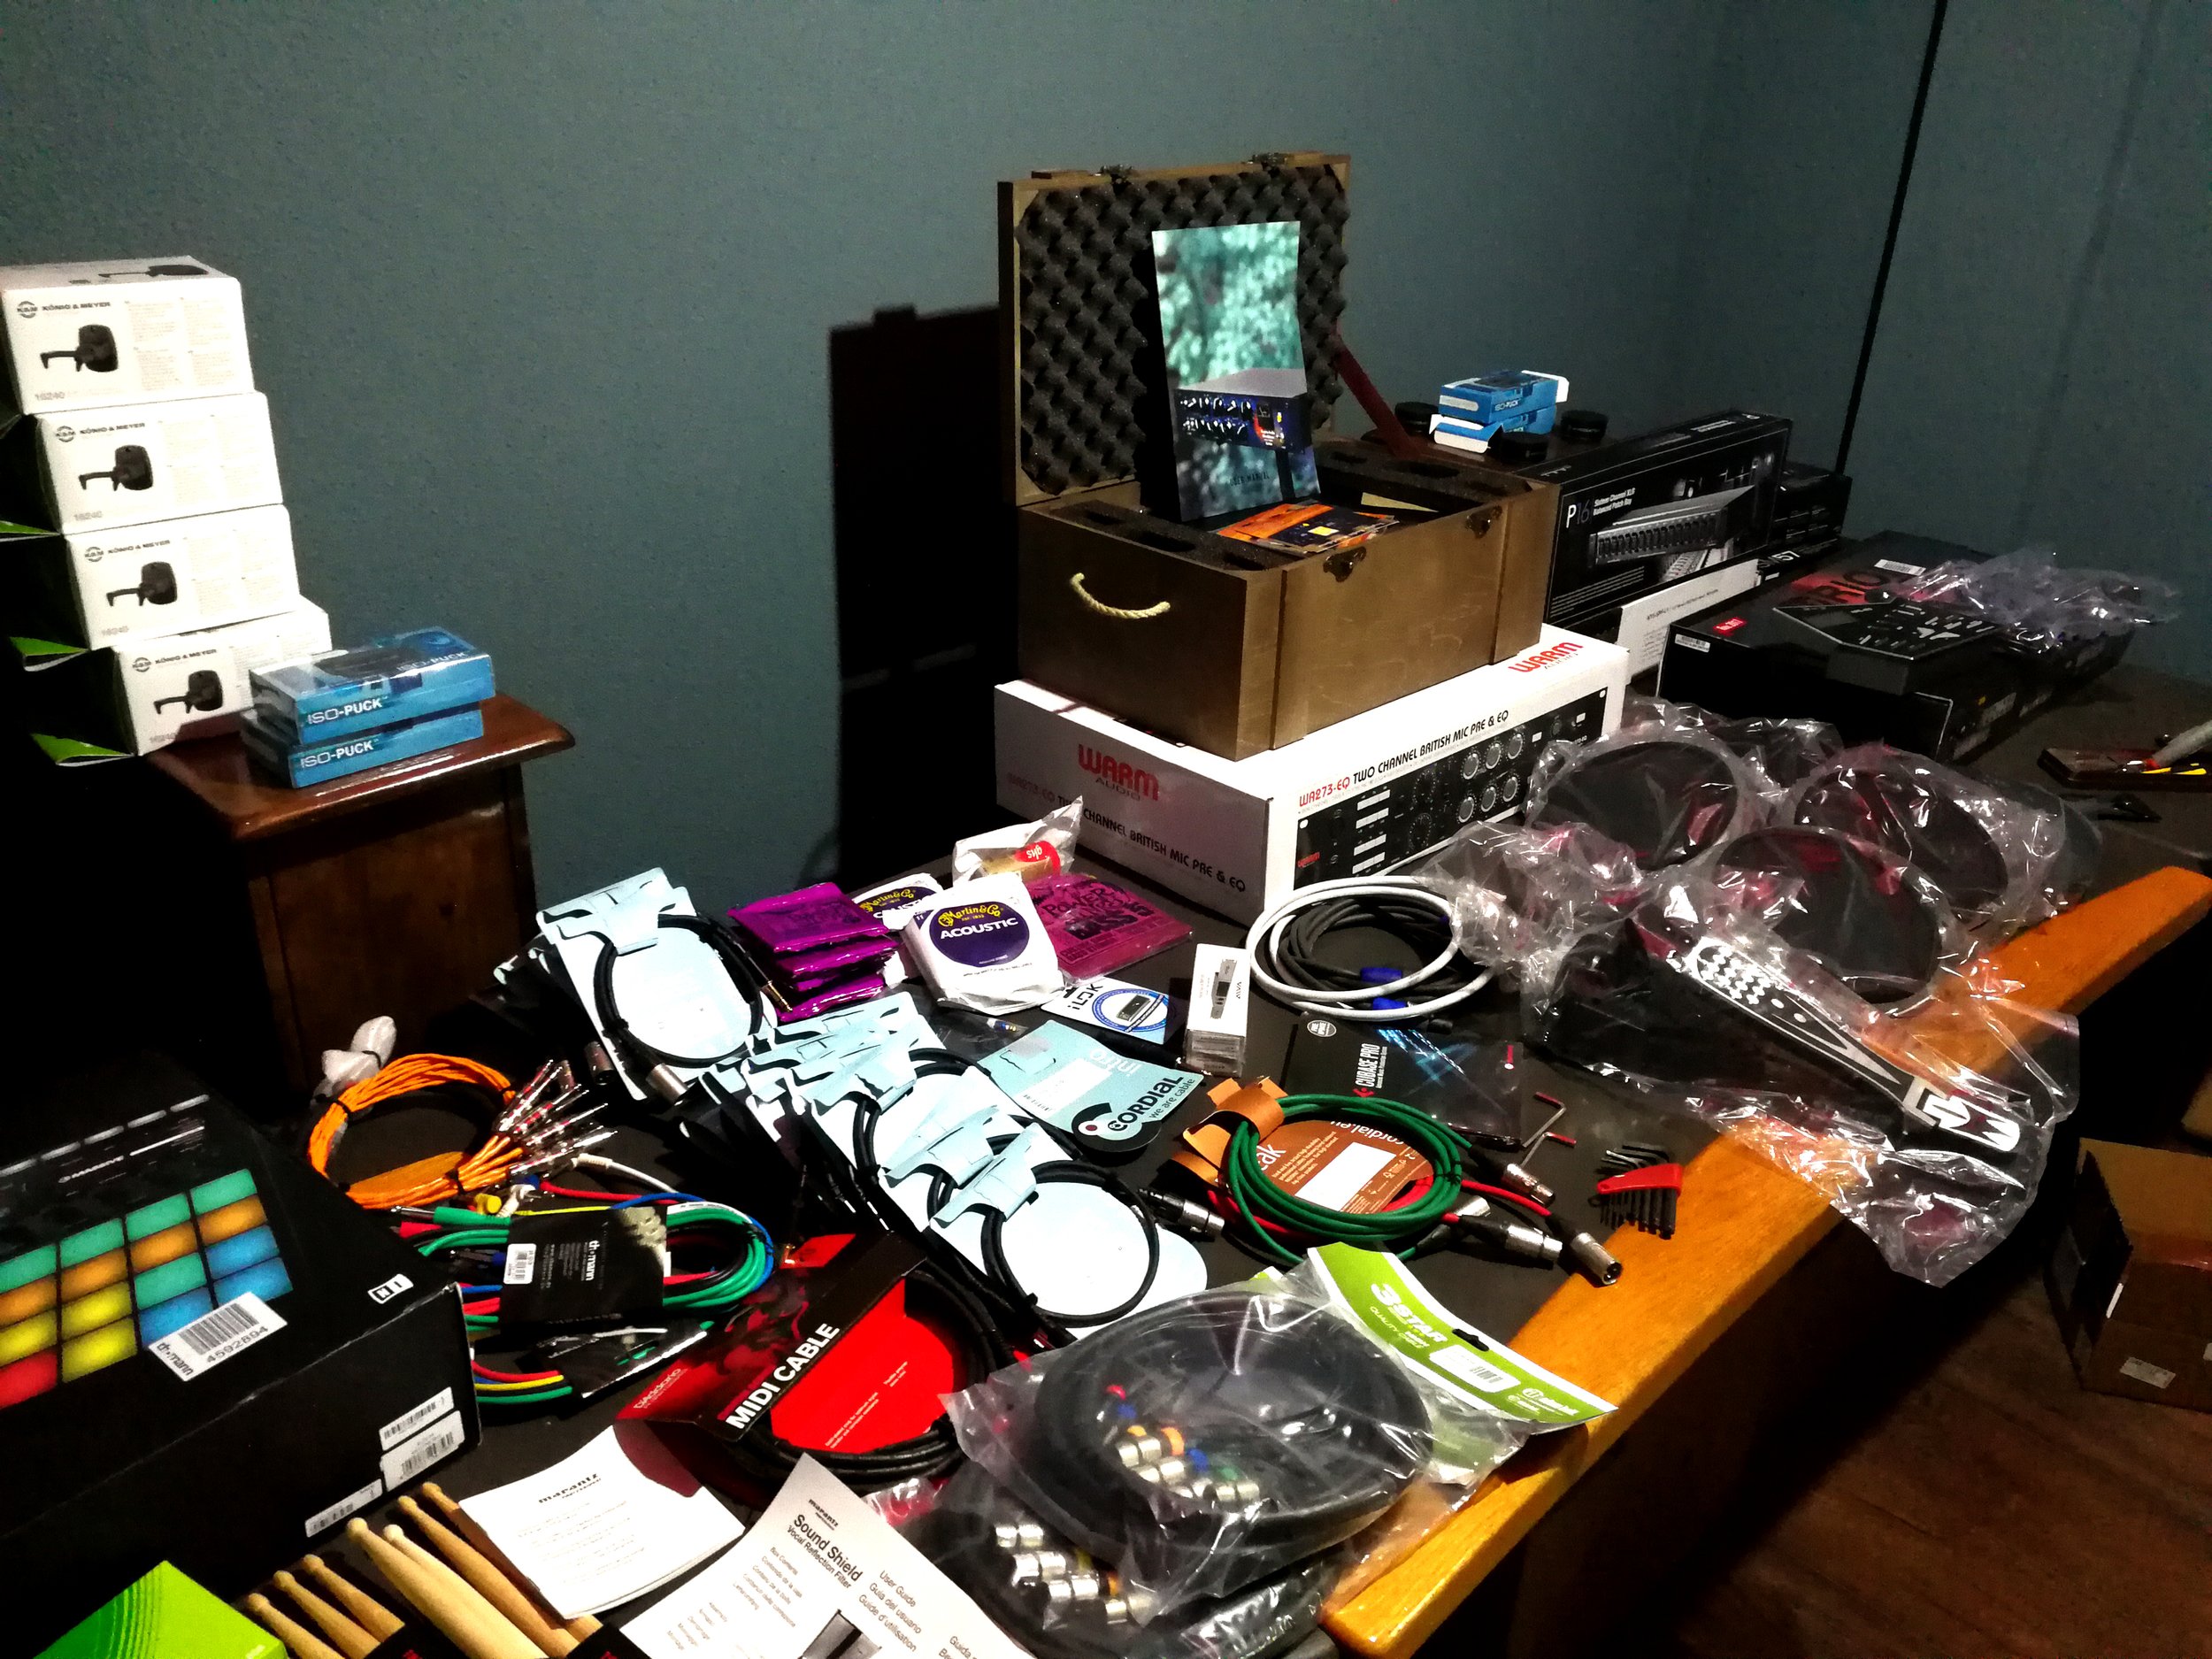
Some equipment I brought from London
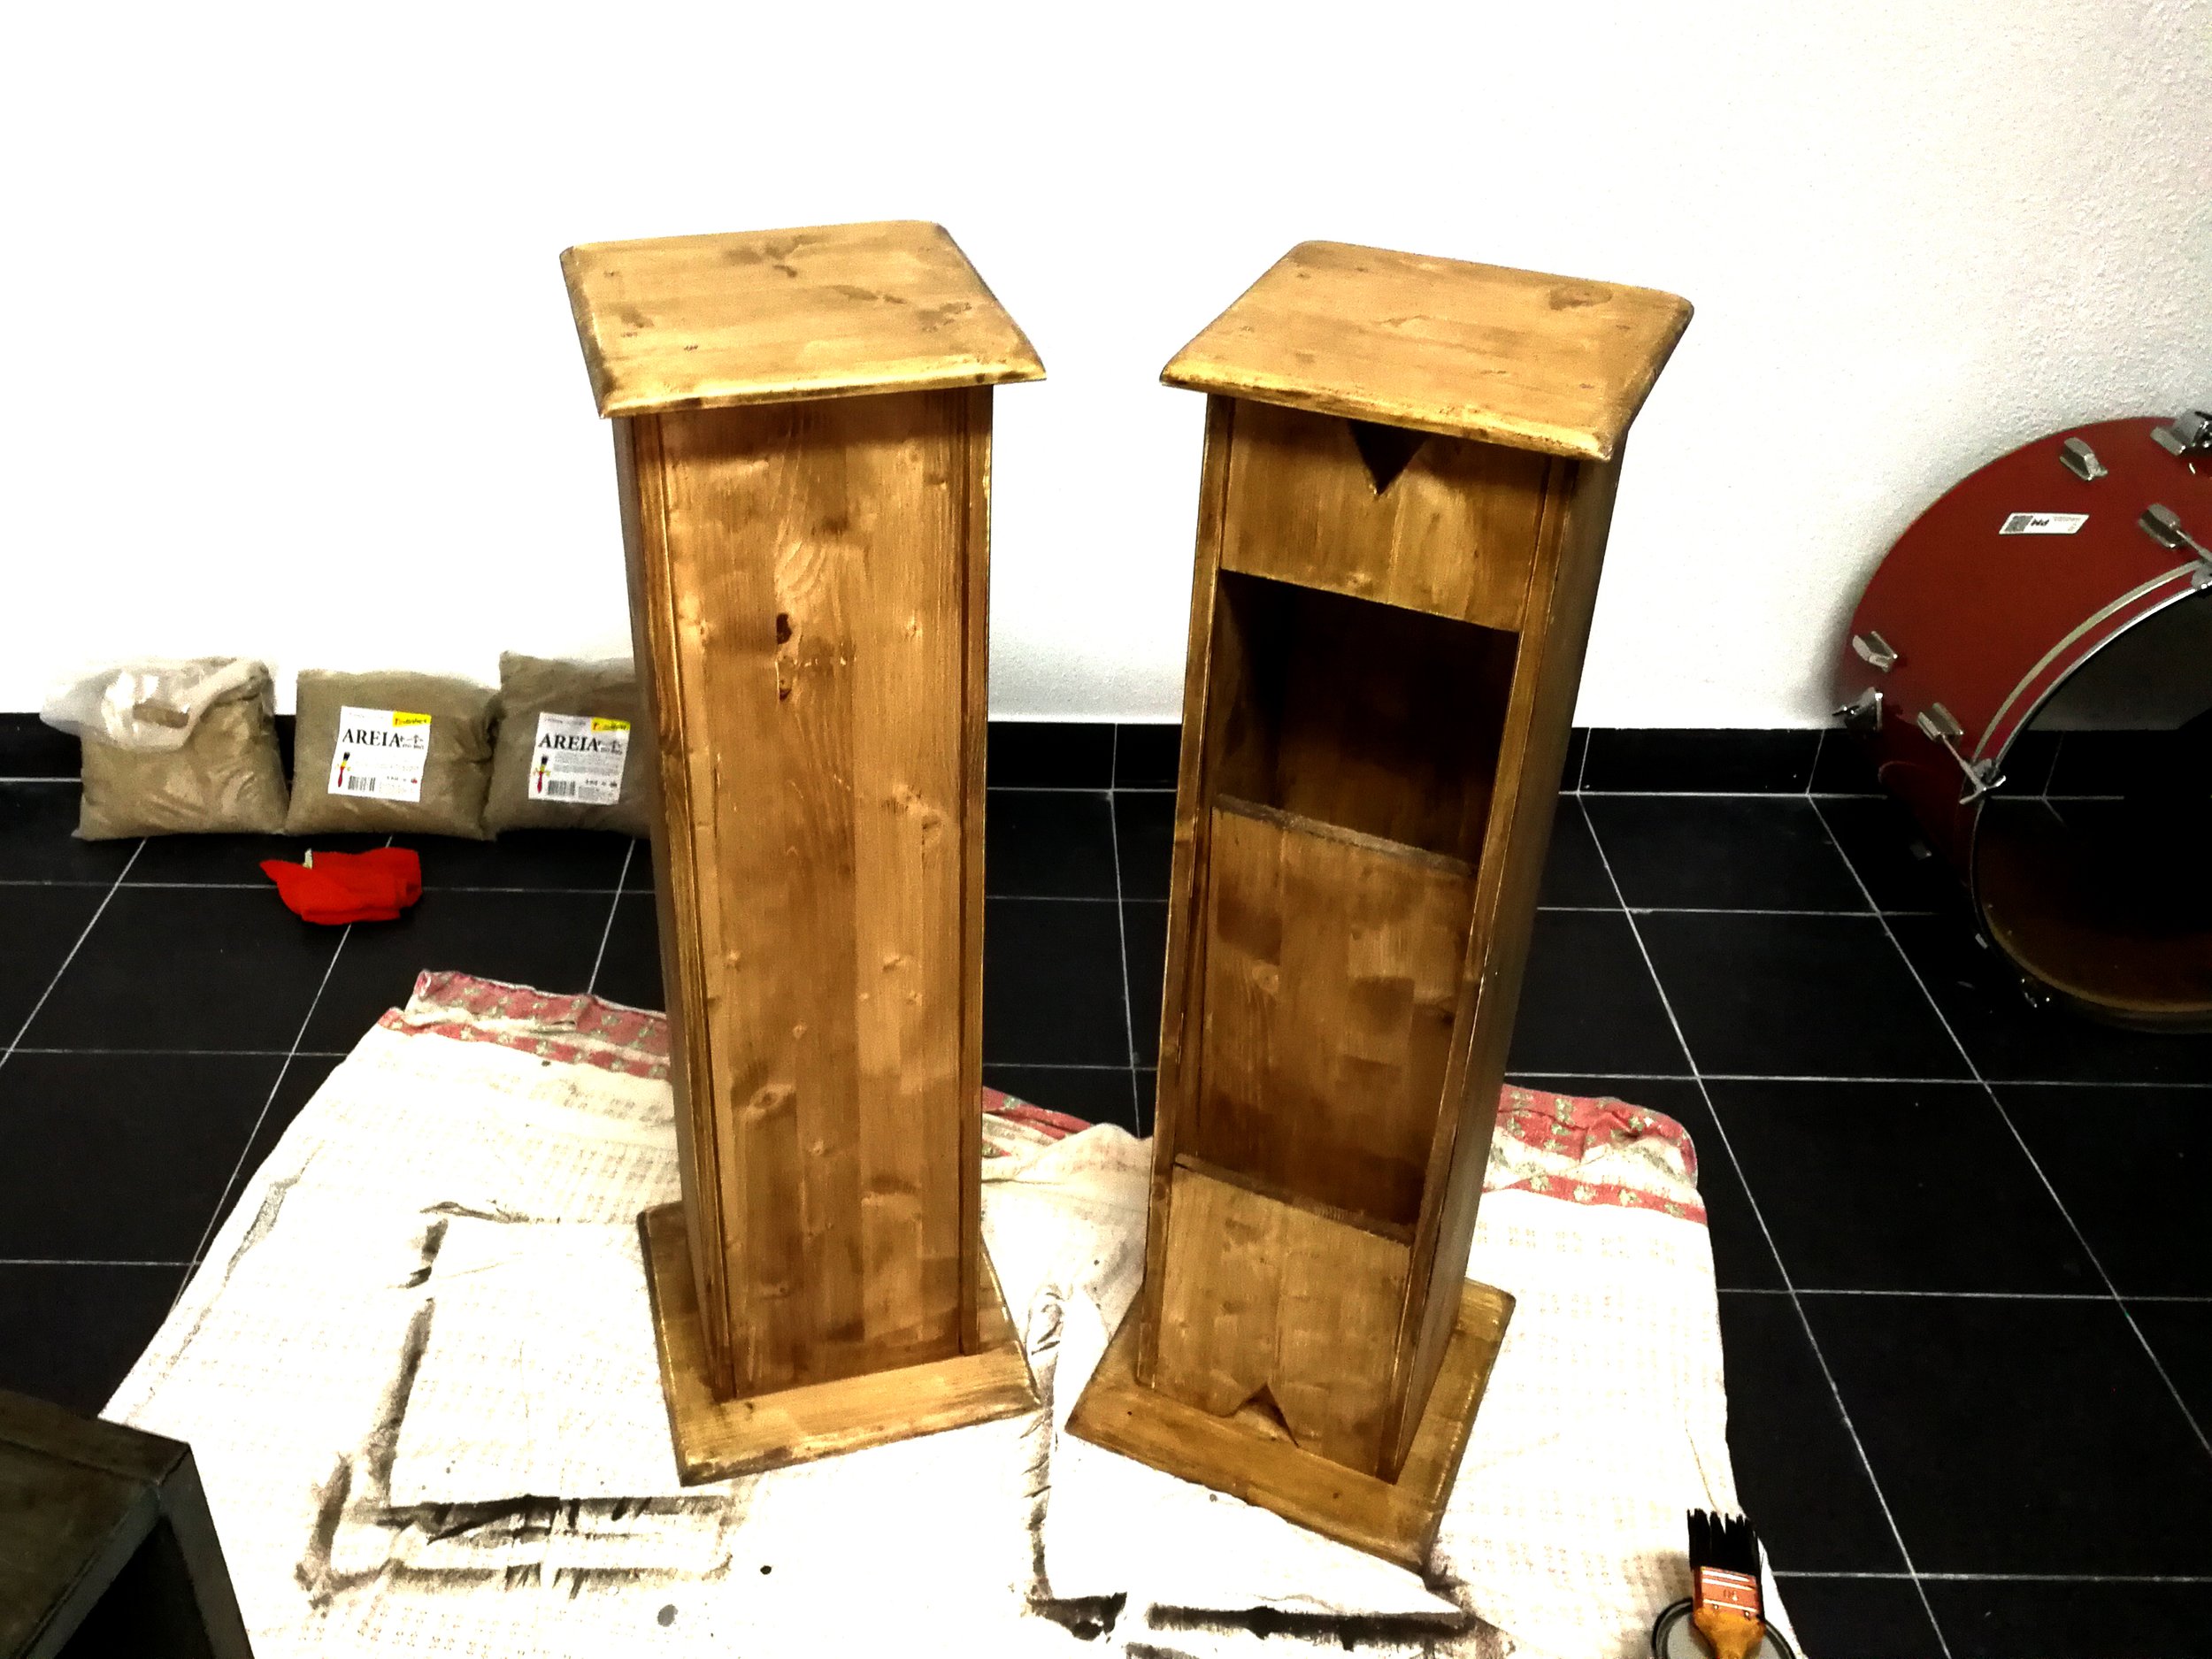
Monitor stands I built

I am great at buying new gear, but terrible with my fashion sense... #priorities
Never felt so good spending money!
Within a room, different frequencies will be amplified is specific places. Some frequencies will be amplified in the corners, some on side walls, some on the front and back walls, some on the ceiling, and some on the floor. Technically speaking, these are called the “Room Modes”.
If you know what frequencies are amplified in specific parts of the room, you can then build Helmholtz Resonators to place in those specific places to absorb those frequencies/Modes.
That is why I built the Resonators, and why this studio sounds amazing, regardless of where you are in the studio. What you hear in the room is pretty much what is coming out of the speakers.
Make no mistake, the most important element of a mixing/mastering studio is the acoustic treatment. Then the most important element is the studio monitors. And after that is the Digital to Analogue Converters, commonly known as the Interface or Sound-Card.
Back to the Helmholtz resonators…
There is software available online that tells you the modes of your Studio/room - and you can also find software that tells you the dimensions of the Helmholtz Resonator for the specific frequency you wish to treat.
That’s what I did.
I knew the frequencies I needed to treat, I knew the dimensions of the resonators I had to build, I drew every Resonator by hand to know the materials I’d need, then I asked my local woodworker mill to cut the MDF sheets to the specific sized I needed, and started to put the pieces together.
That’s how the REBIRTH STUDIO was born.
